User provisioning with PingOne allows you to automate user lifecycle management in DocuWare through the SCIM protocol. When you create, update, or deactivate users in PingOne, those changes are automatically reflected in DocuWare.
You configure this integration in two places: DocuWare Configuration > General > User Provisioning (where you enable SCIM and register the application) and the PingOne Admin Console (where you create a SCIM Outbound provisioning connection).
Configure DocuWare user provisioning
Go to DocuWare Configuration > General > User Provisioning.
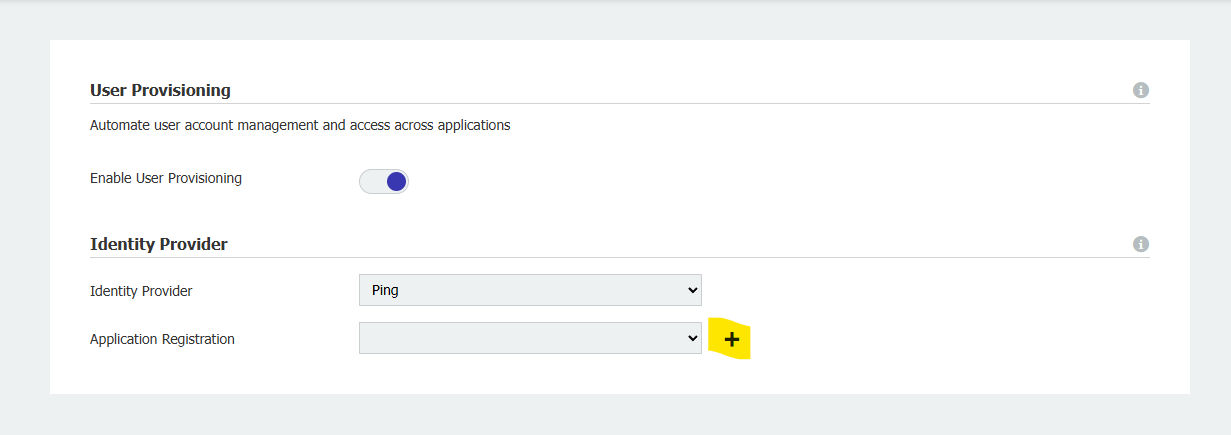
Enable the Enable User Provisioning option.
In the Identity Provider dropdown, select Ping.
In the Application Registration dropdown, select a previously created app registration. If none exists, select Create Application Registration.
Enter a name in the Application Name field.
.png)
From the newly created app registration, copy the following values:
Application (Client) ID
Client secret
.png)
Select Done.
Copy the following endpoint URLs. You need them for the PingOne configuration:
SCIM BASE URL
OAuth Token Request
Select Save.
Configure PingOne
Set up a PingOne environment
If you already have a PingOne environment, skip to the next section.
Sign in to your PingOne account at
https://www.pingidentity.com/.
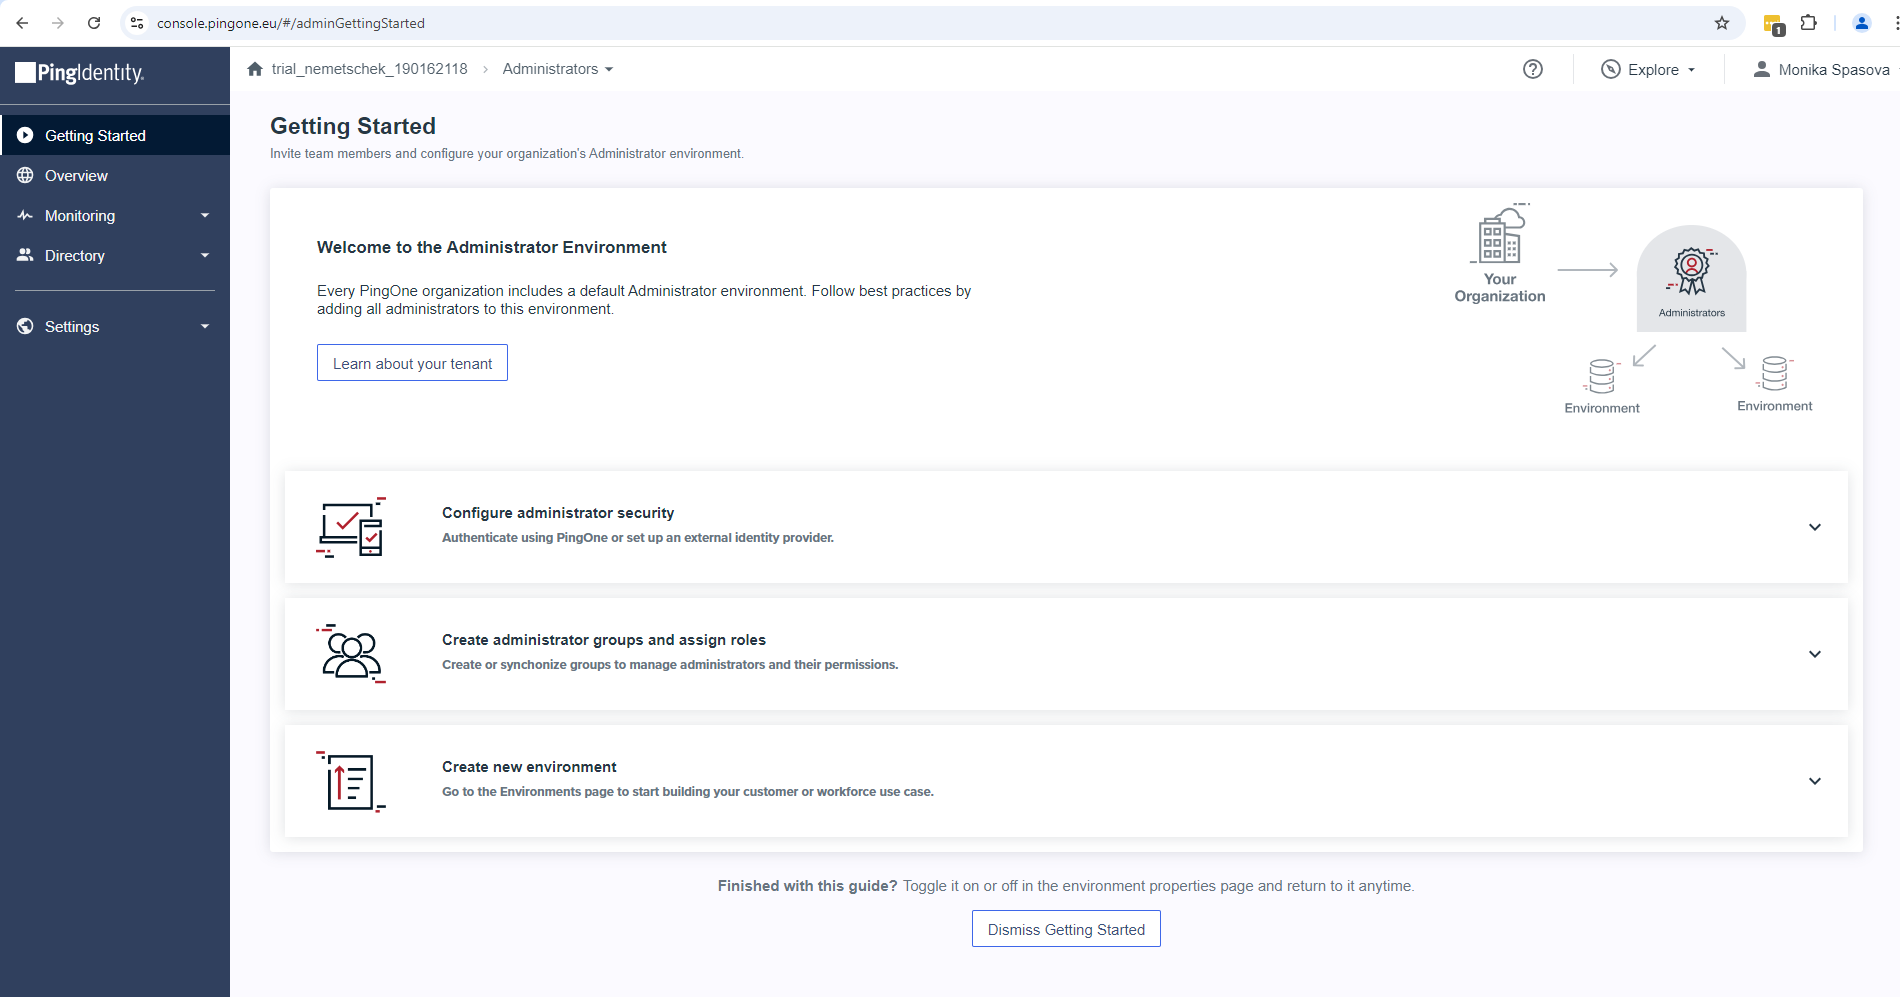
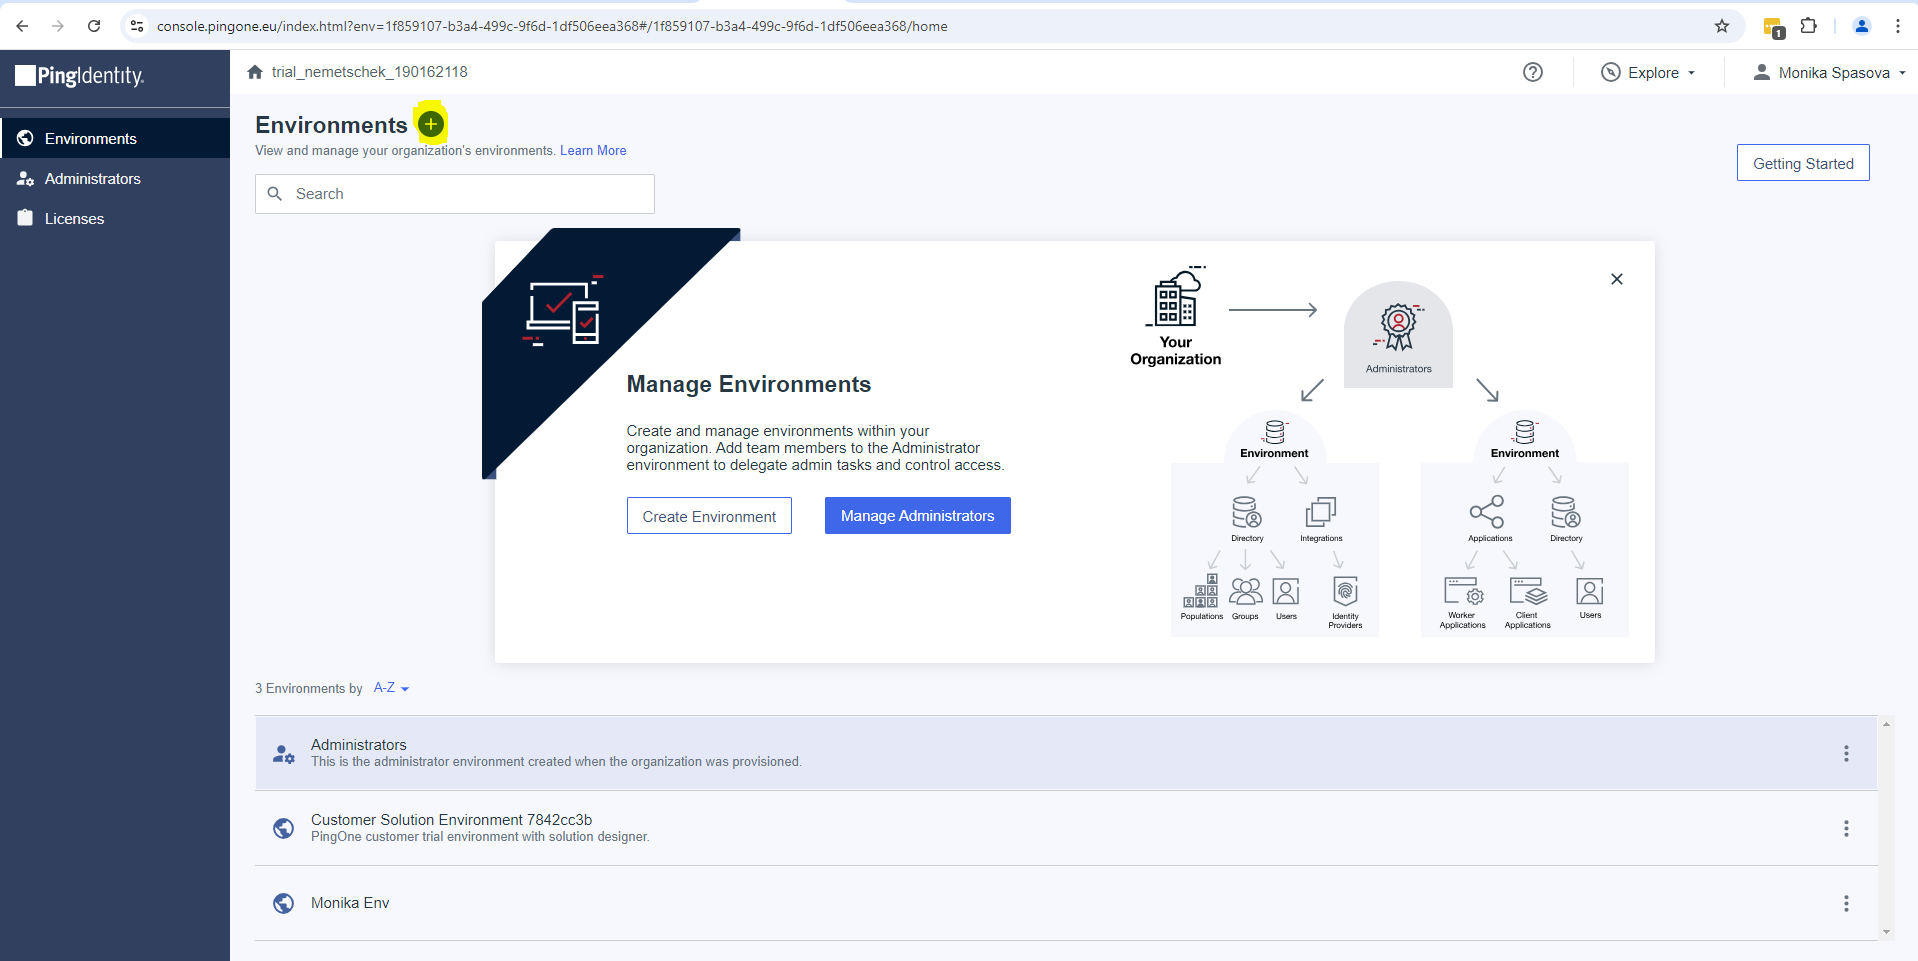
On the home screen, select Create new environment.
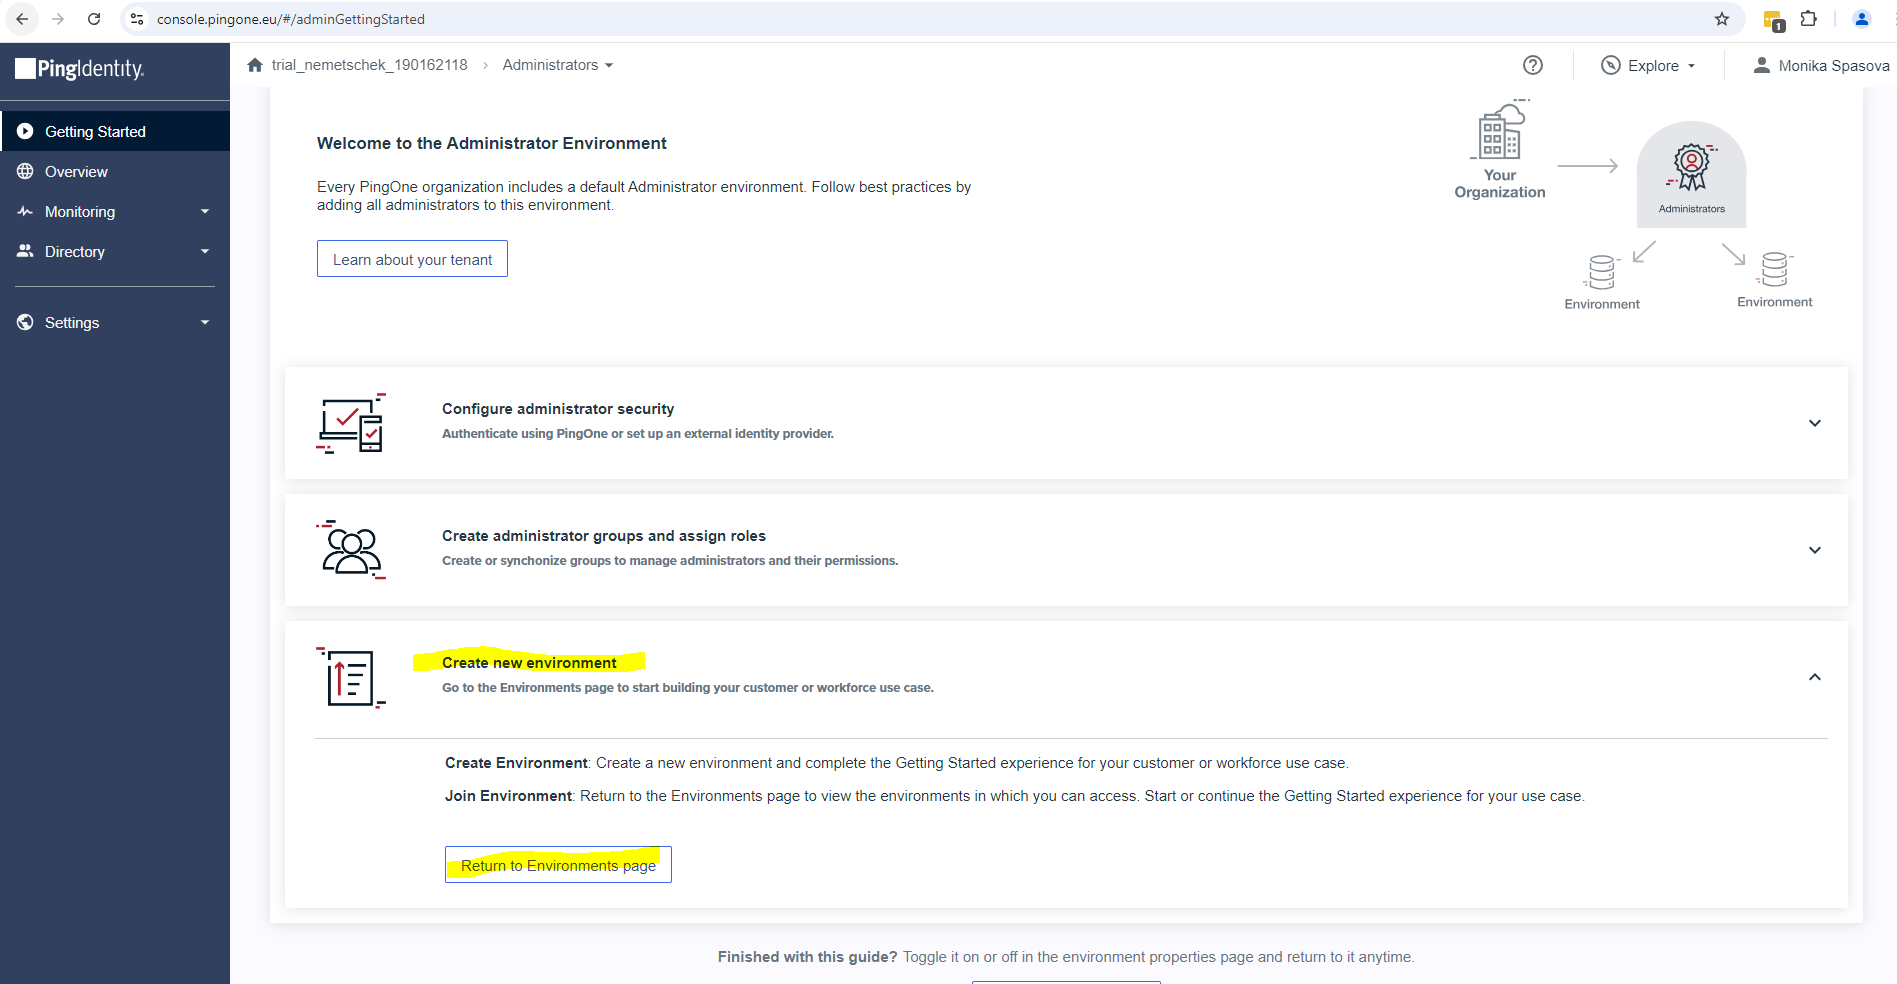
Select the + button to add an environment.
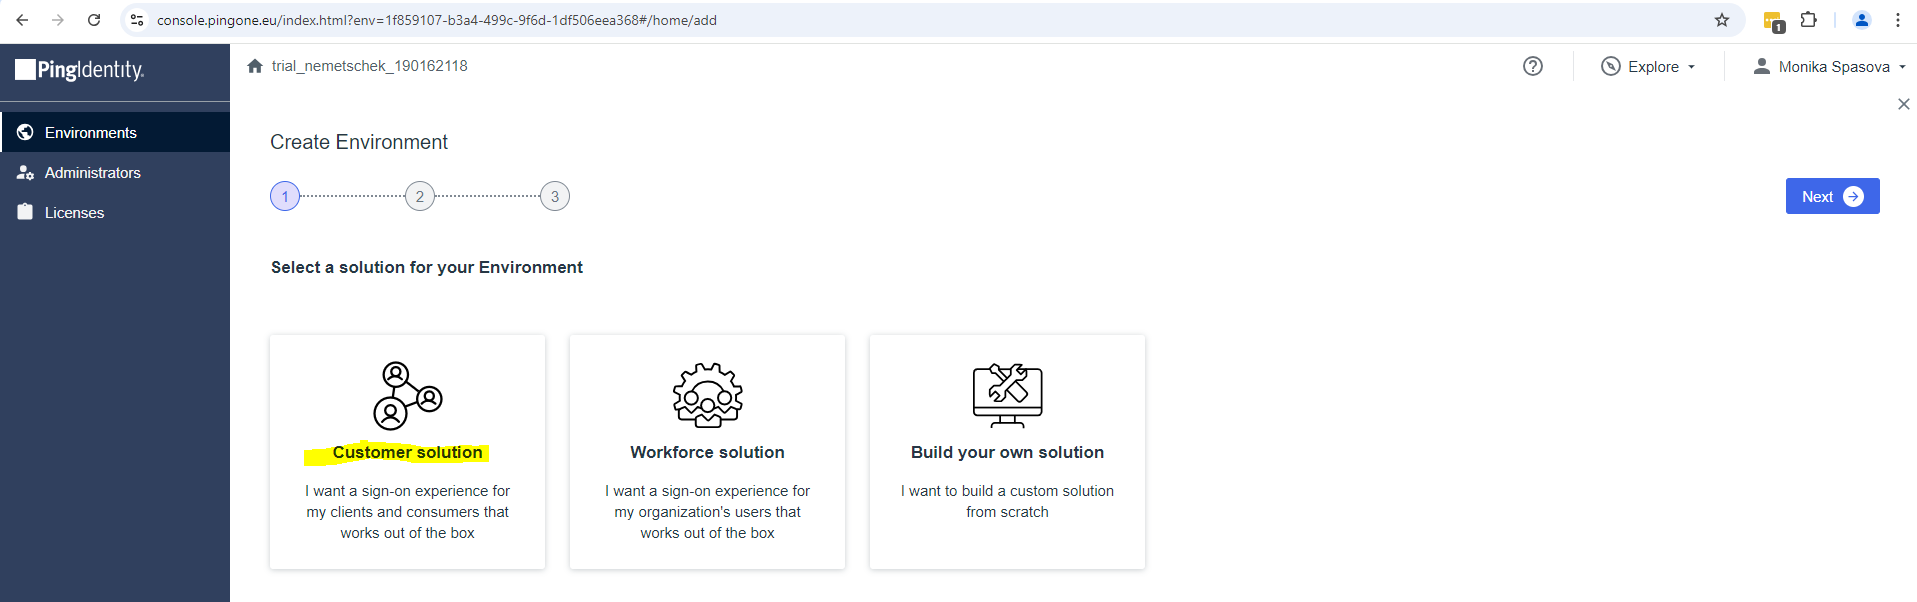
Select Customer Solution and select Next.
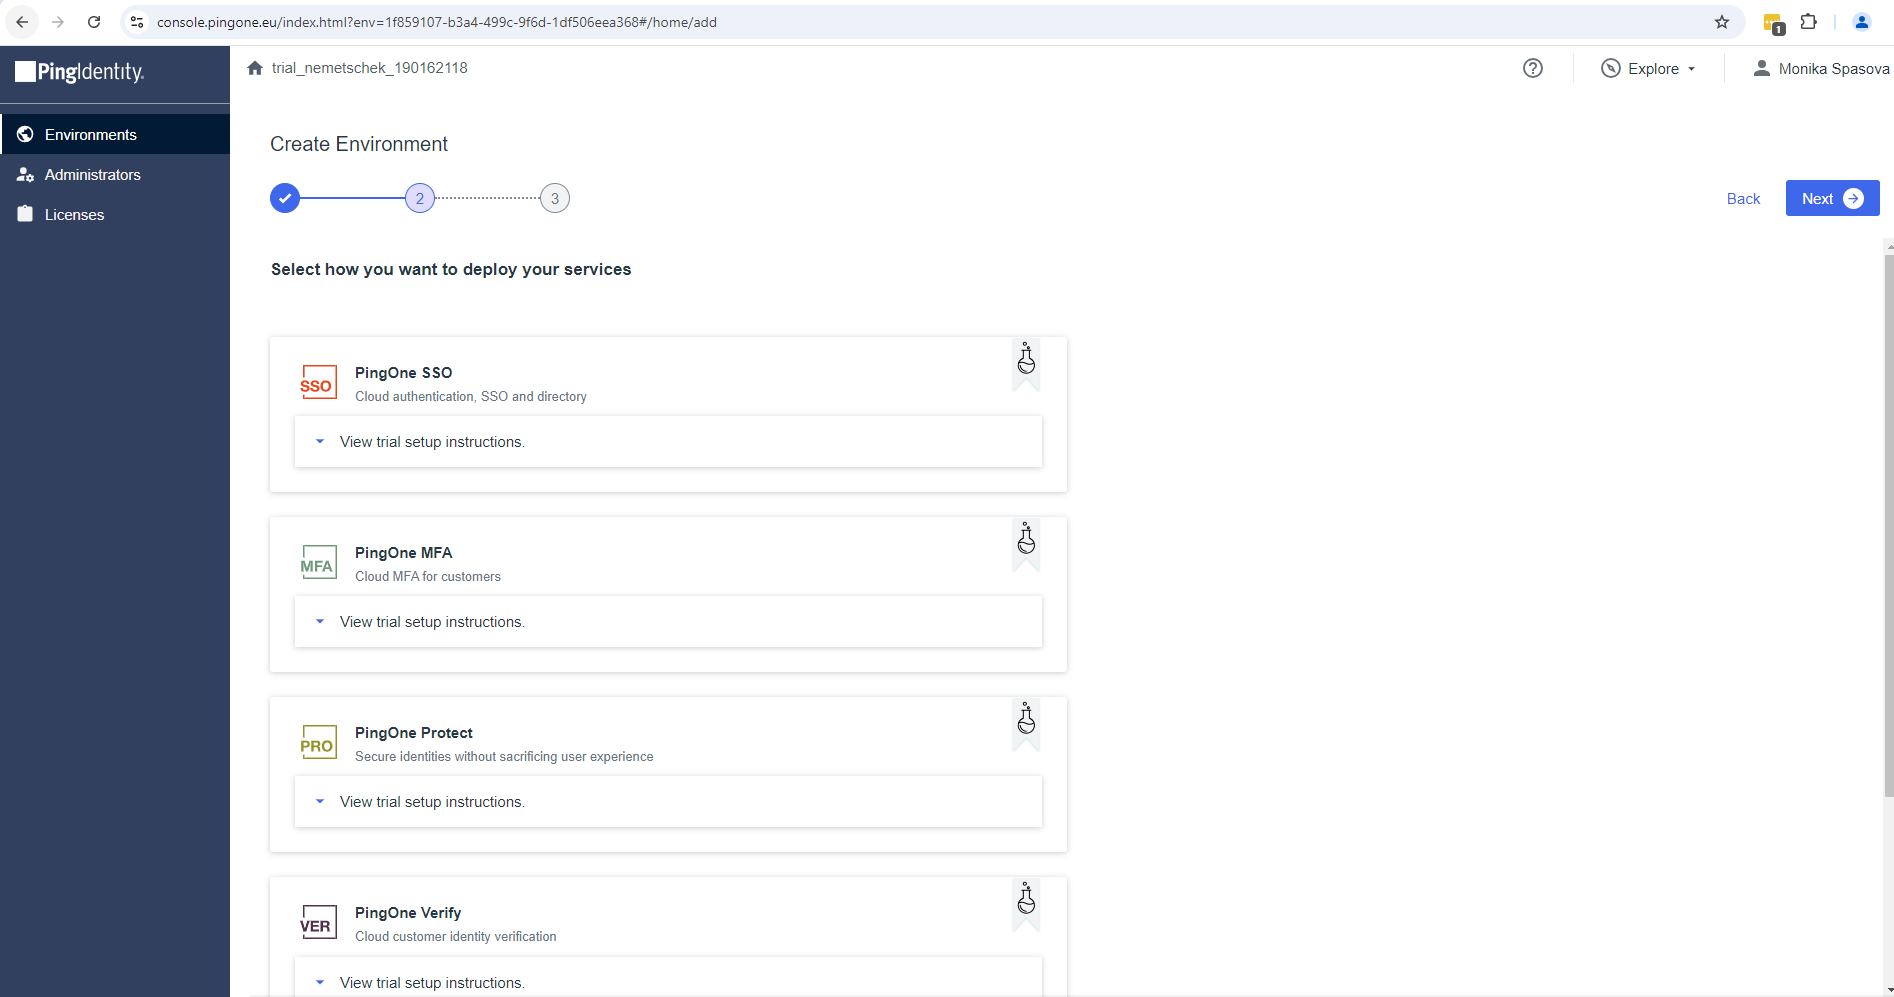
Select Next on the following screen.
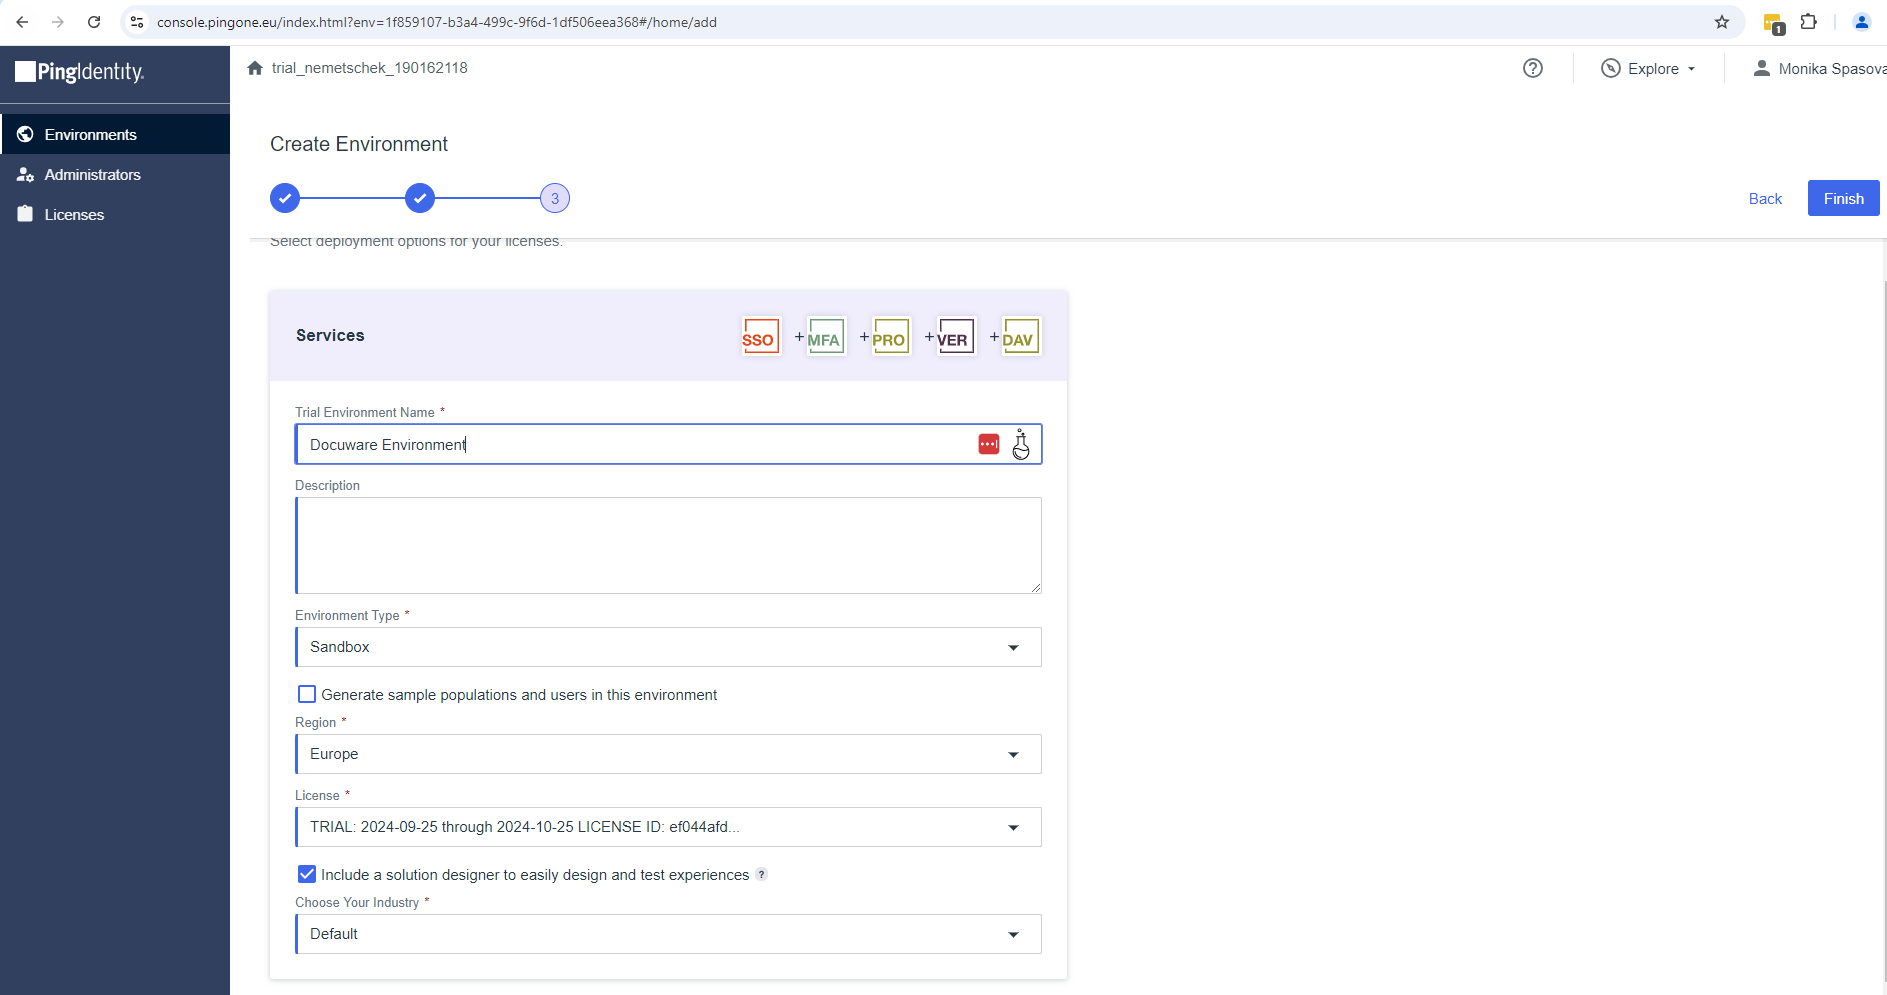
Enter an environment name, keep the default values for the remaining fields, and select Finish.
Create the provisioning connection
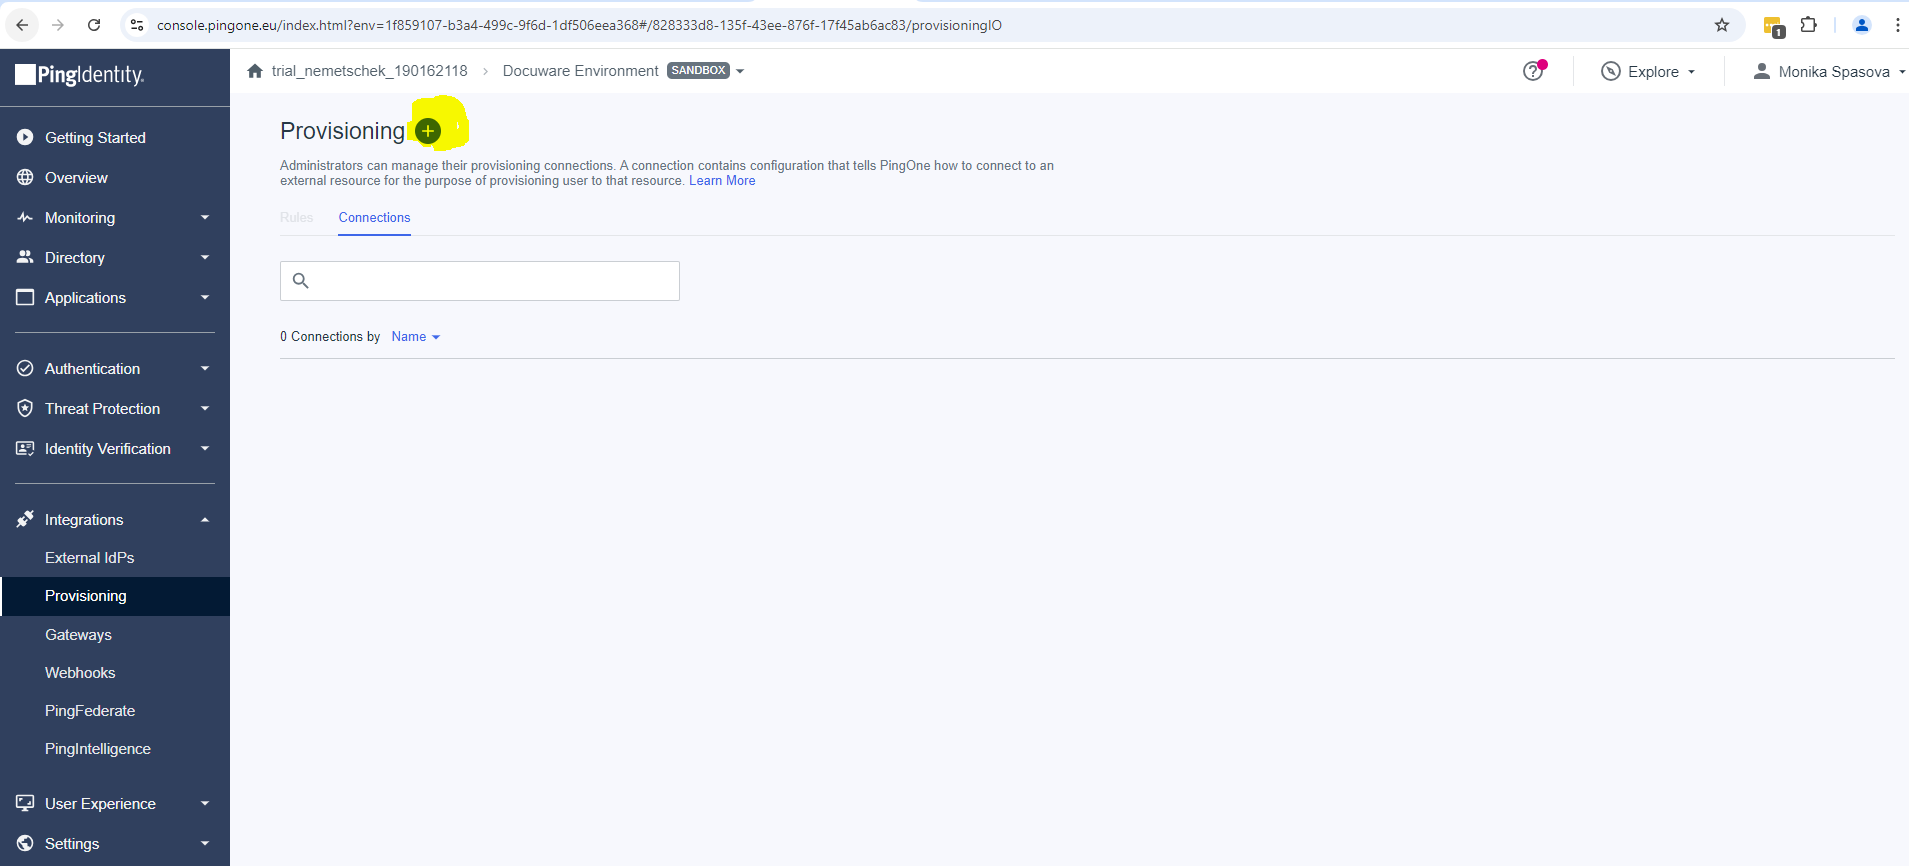
In your environment, go to Integrations > Provisioning.
Select the + button to create a new connection.
Select Identity Store as the connection type.
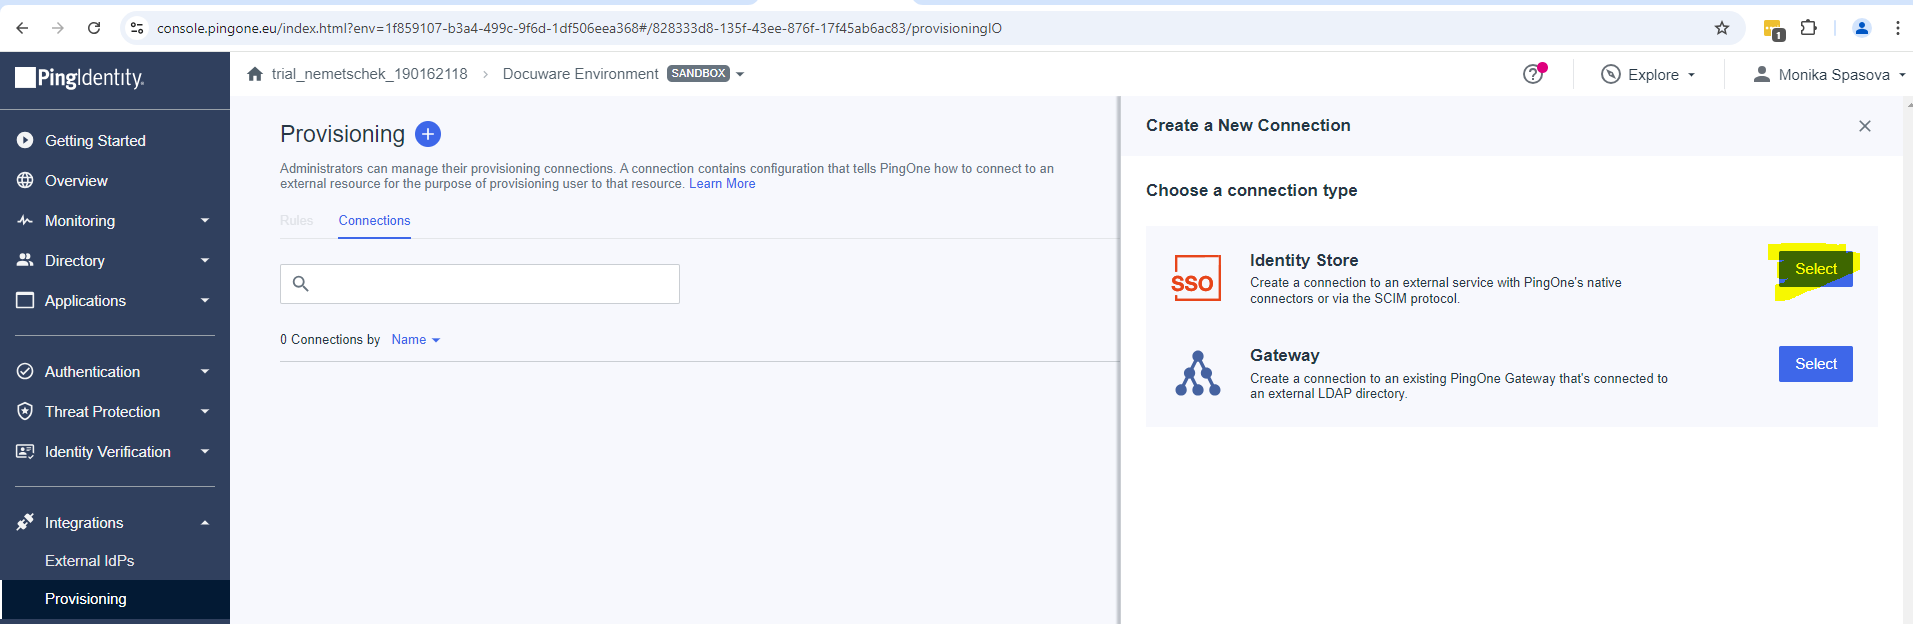
Select SCIM Outbound and select Next.
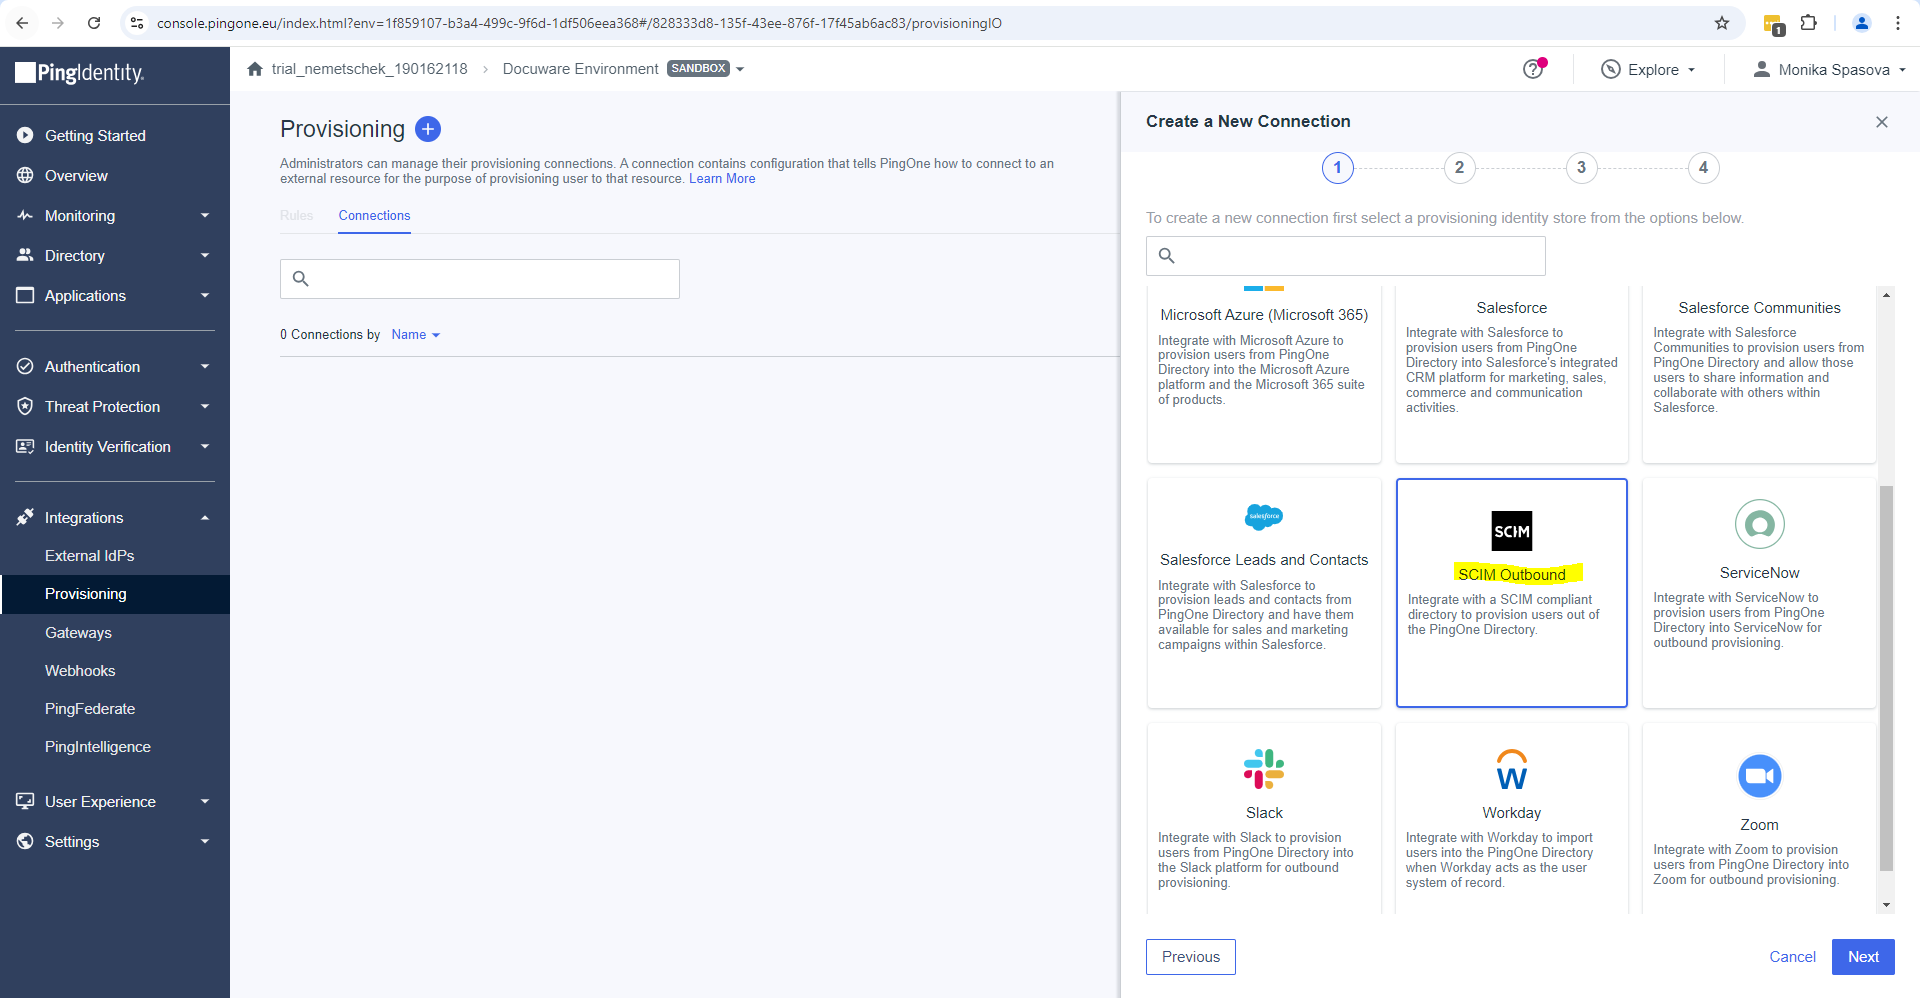
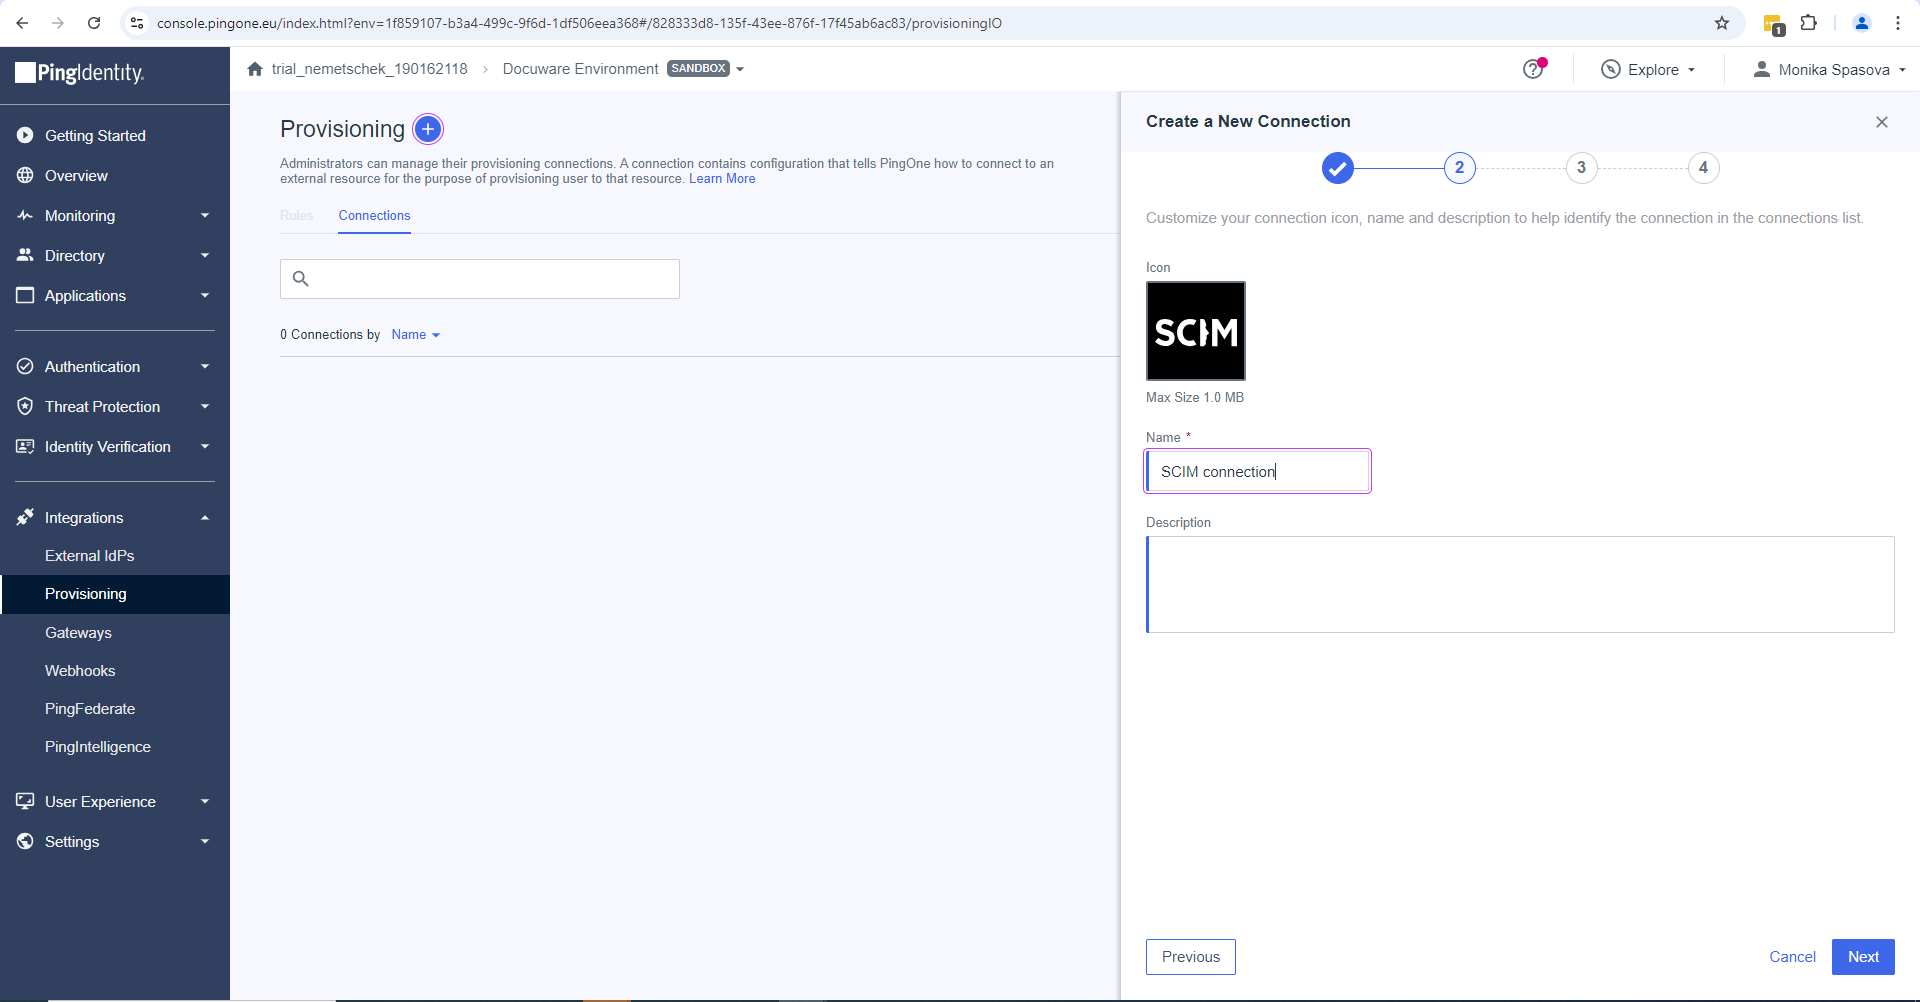
Enter a name for the connection and select Next.
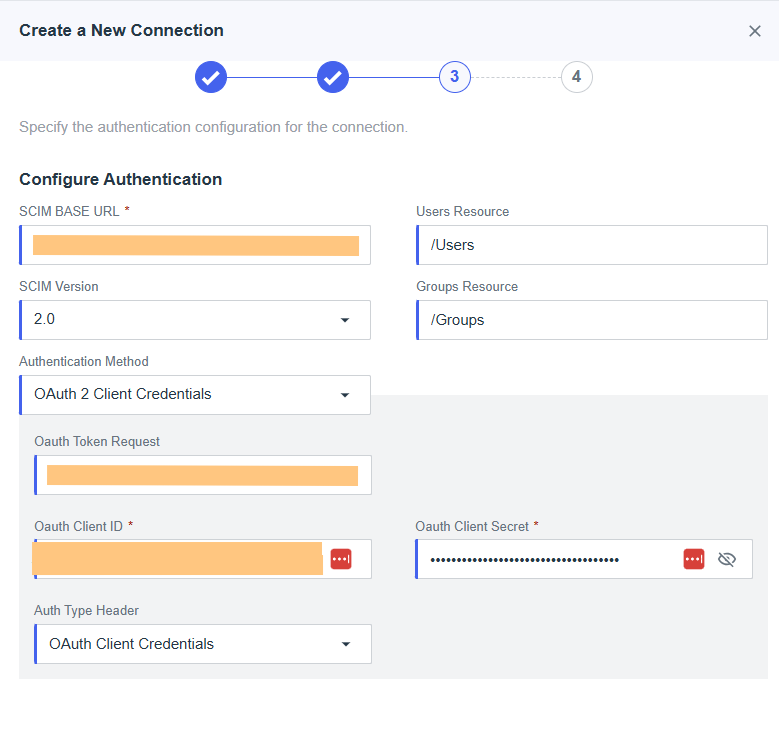
Select Client credentials as the authentication method and enter the following values:
OAuth Client ID: Paste the Application (Client) ID from DocuWare (step 6).
OAuth Client Secret: Paste the Client secret from DocuWare (step 6).
SCIM BASE URL: Paste the SCIM BASE URL from DocuWare (step 8).
OAuth Token Request: Paste the OAuth Token Request URL from DocuWare (step 8).
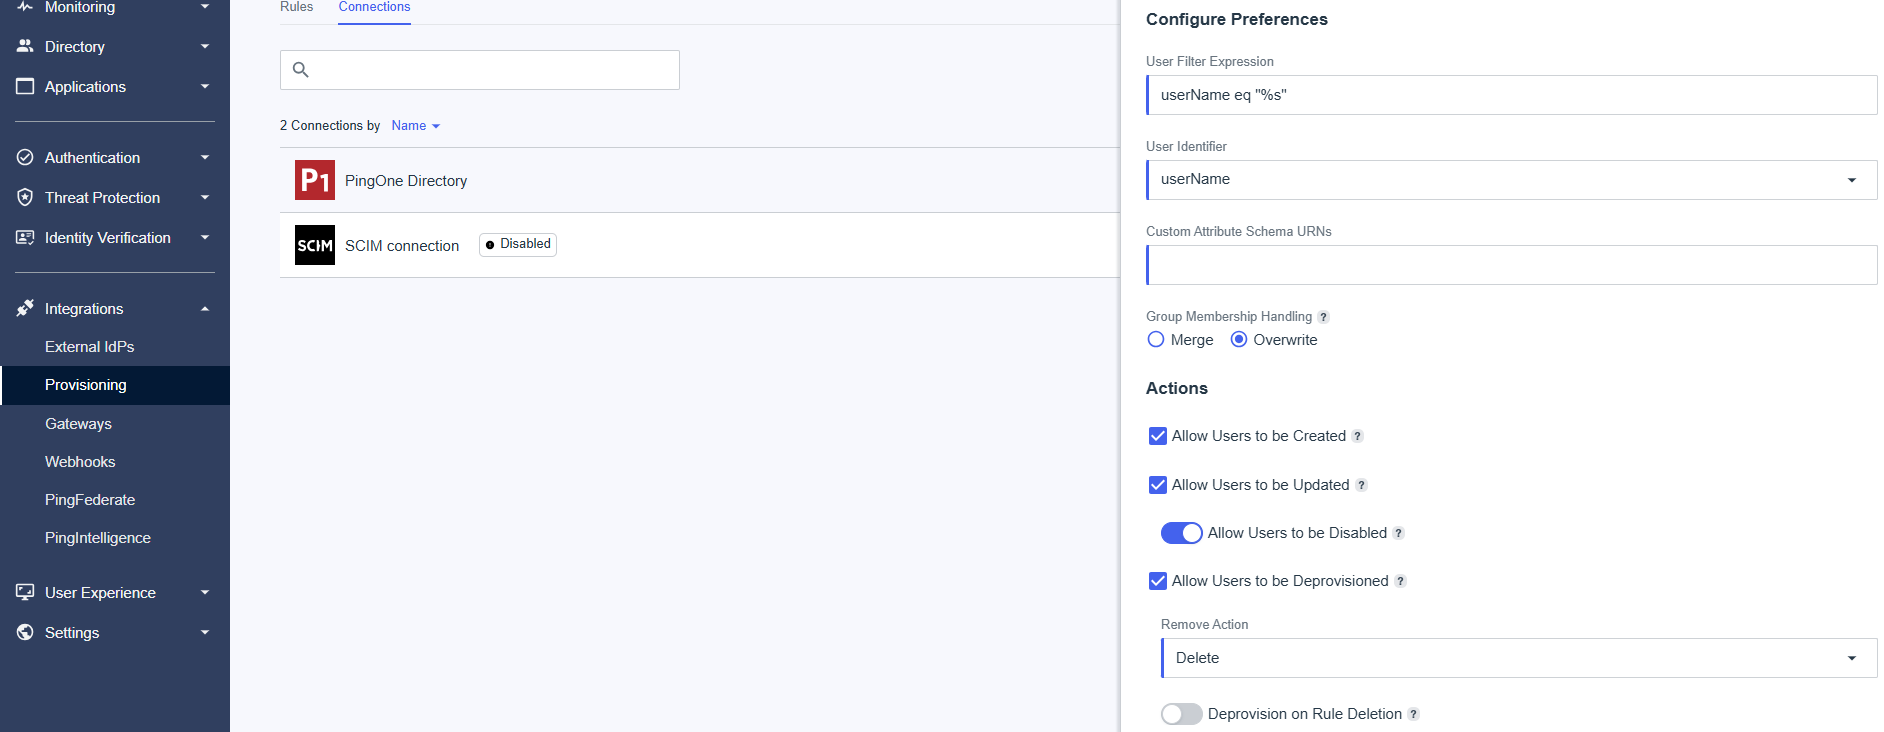
Configure the remaining connection settings as shown in the screenshot below and select Save.
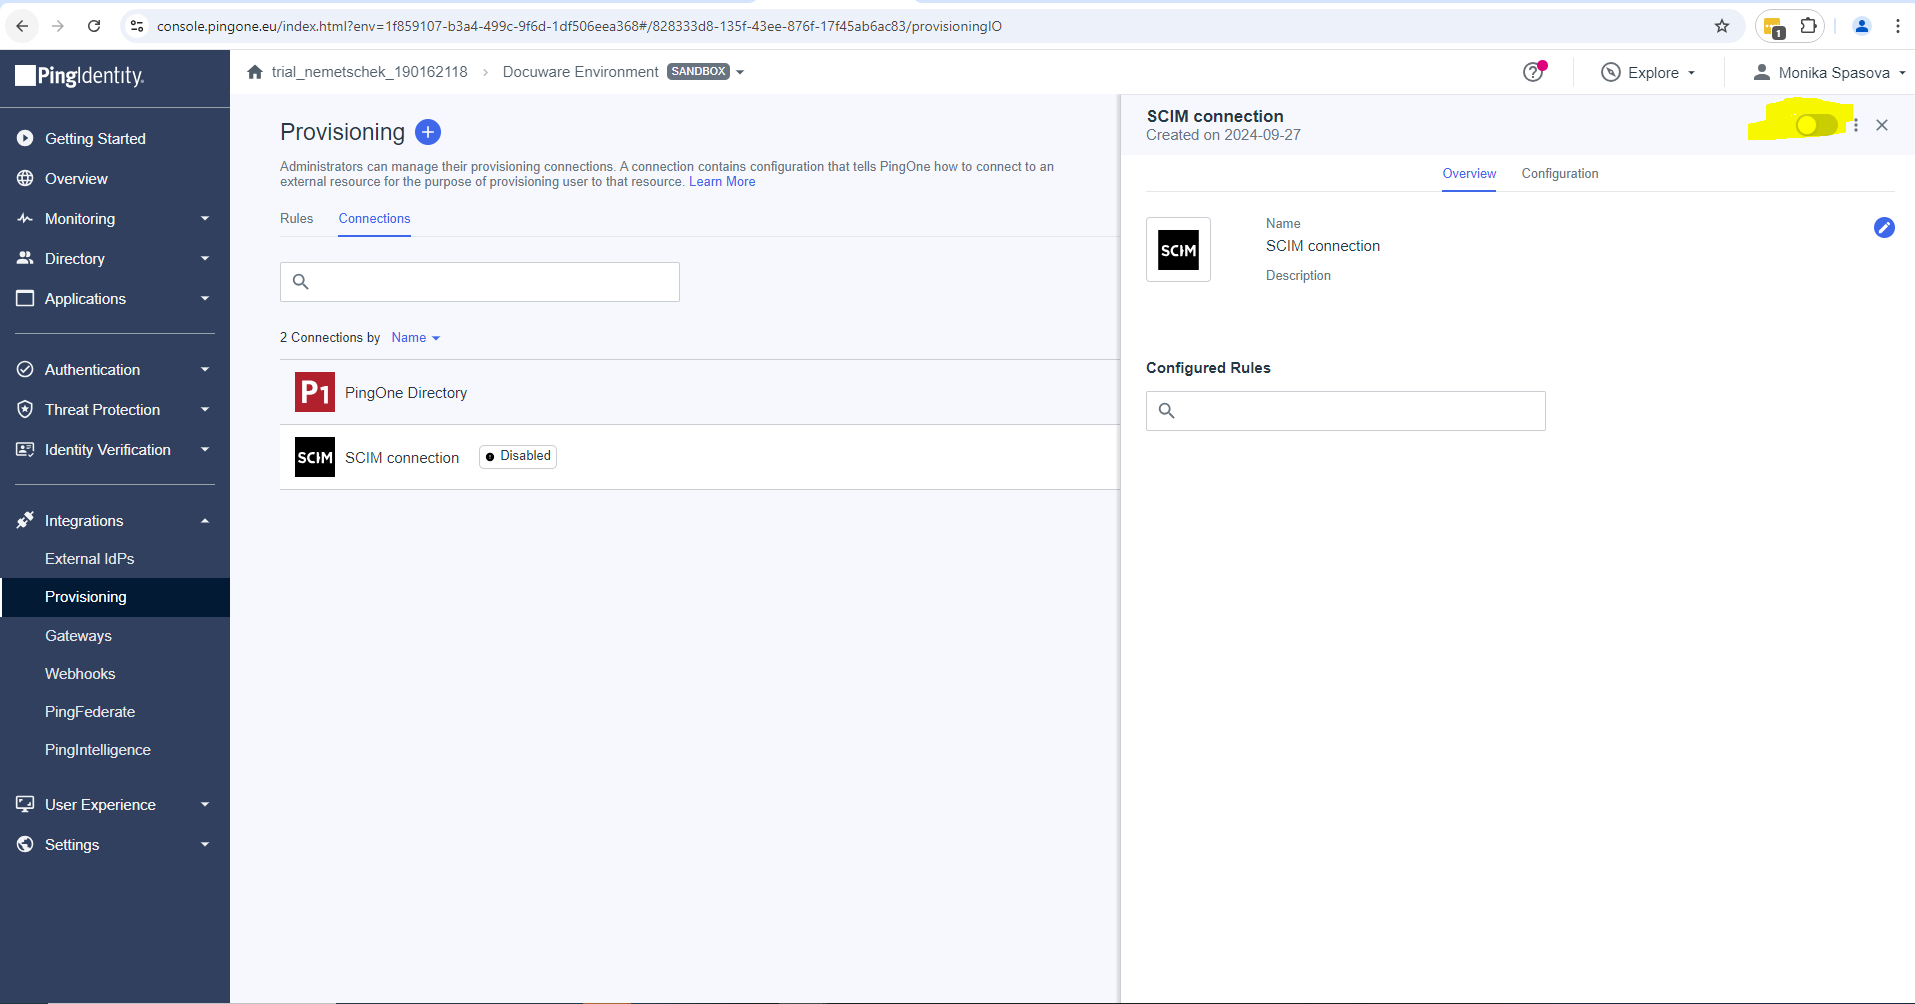
Enable the connection using the toggle.
Configure provisioning rules
Select the Rules tab.
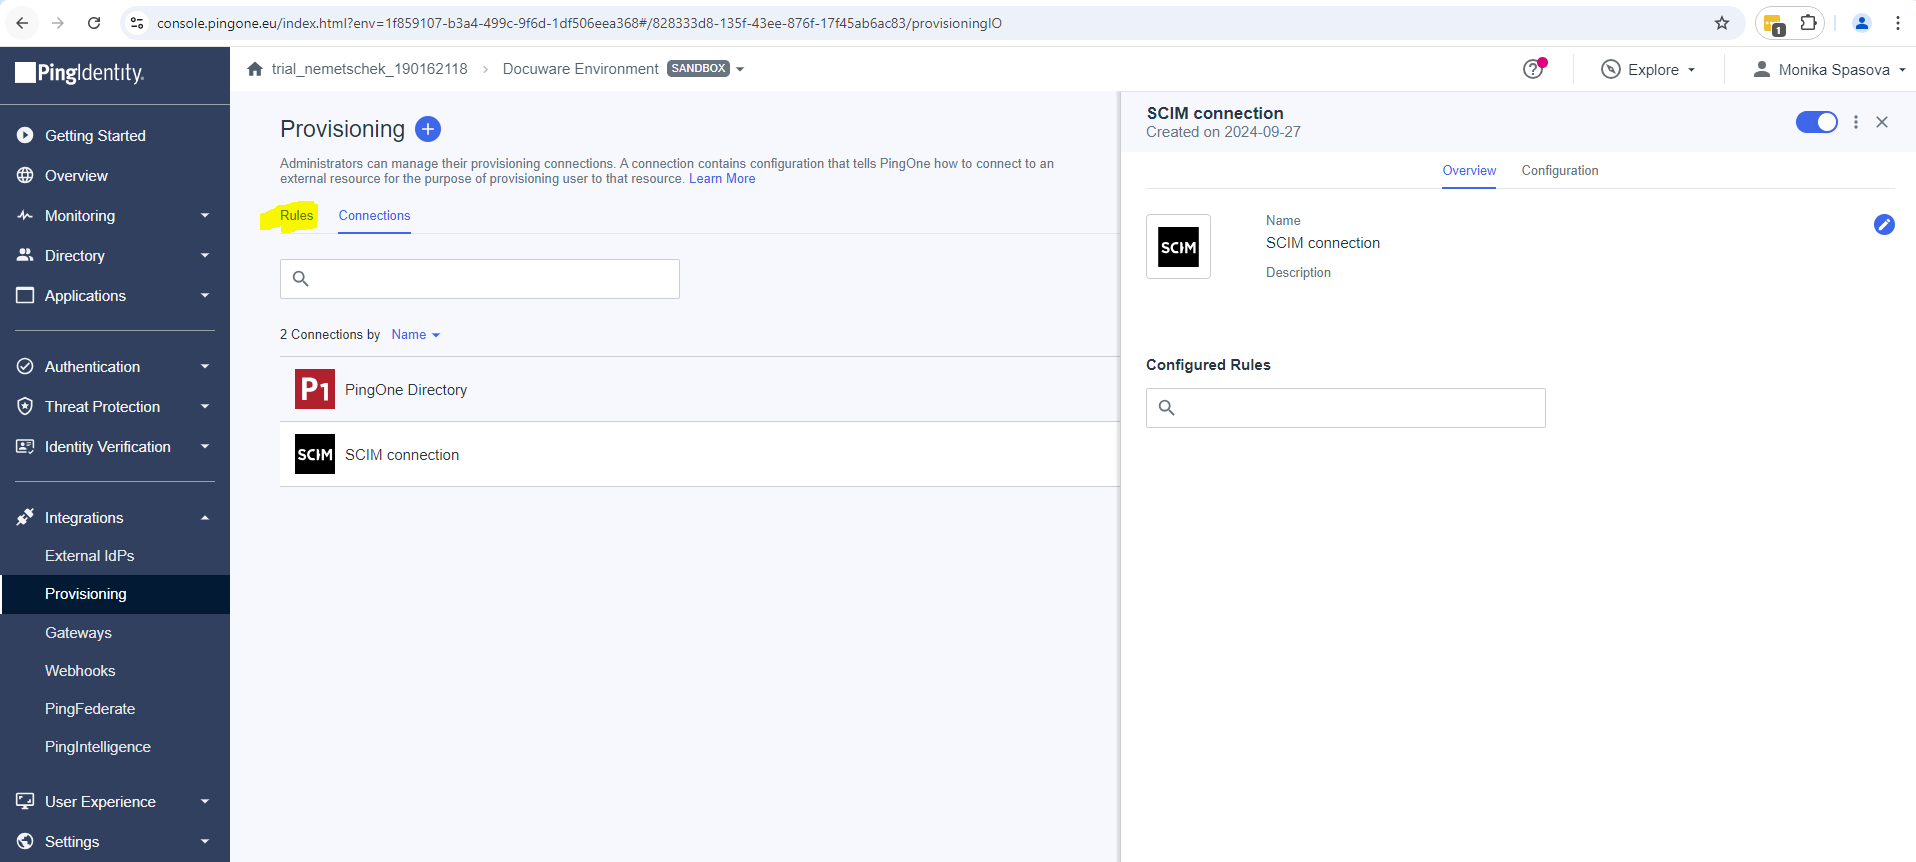
Select the + button to create a new rule.
Enter a name for the rule and select Create Rule.
Select Target and add the connection you created as the target.
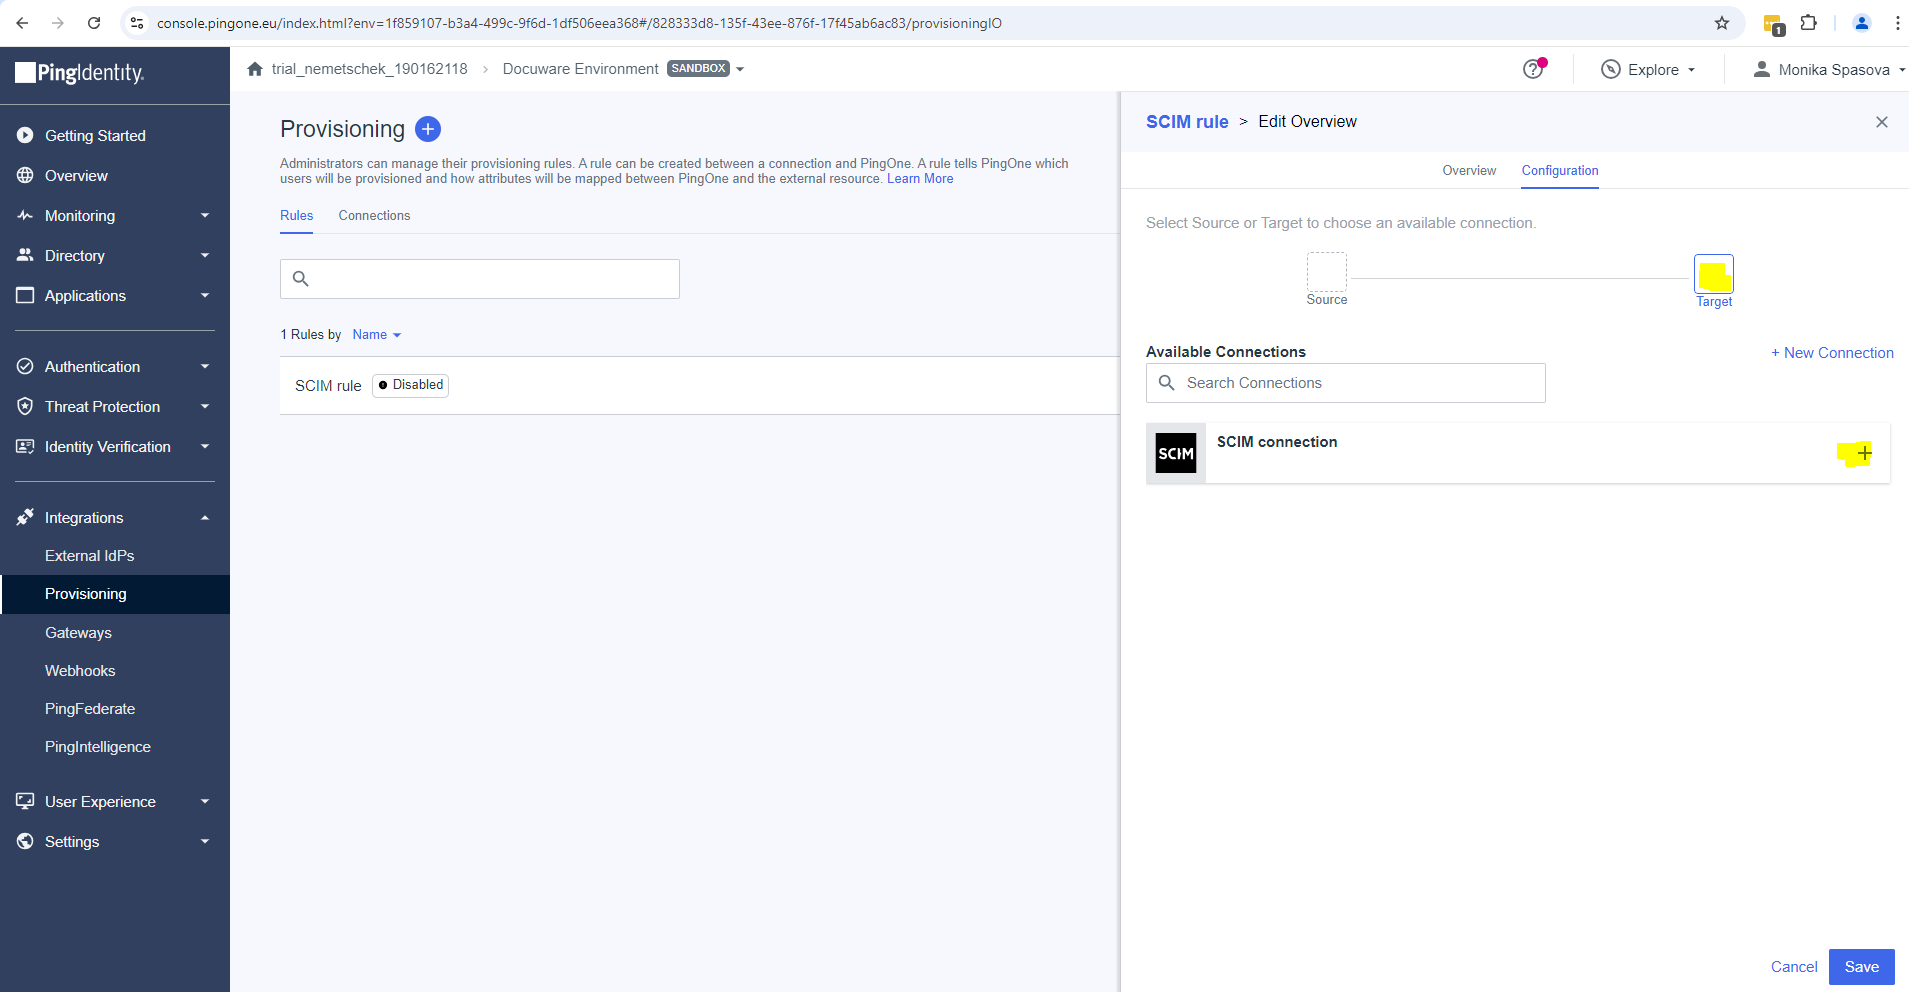
Select Save.
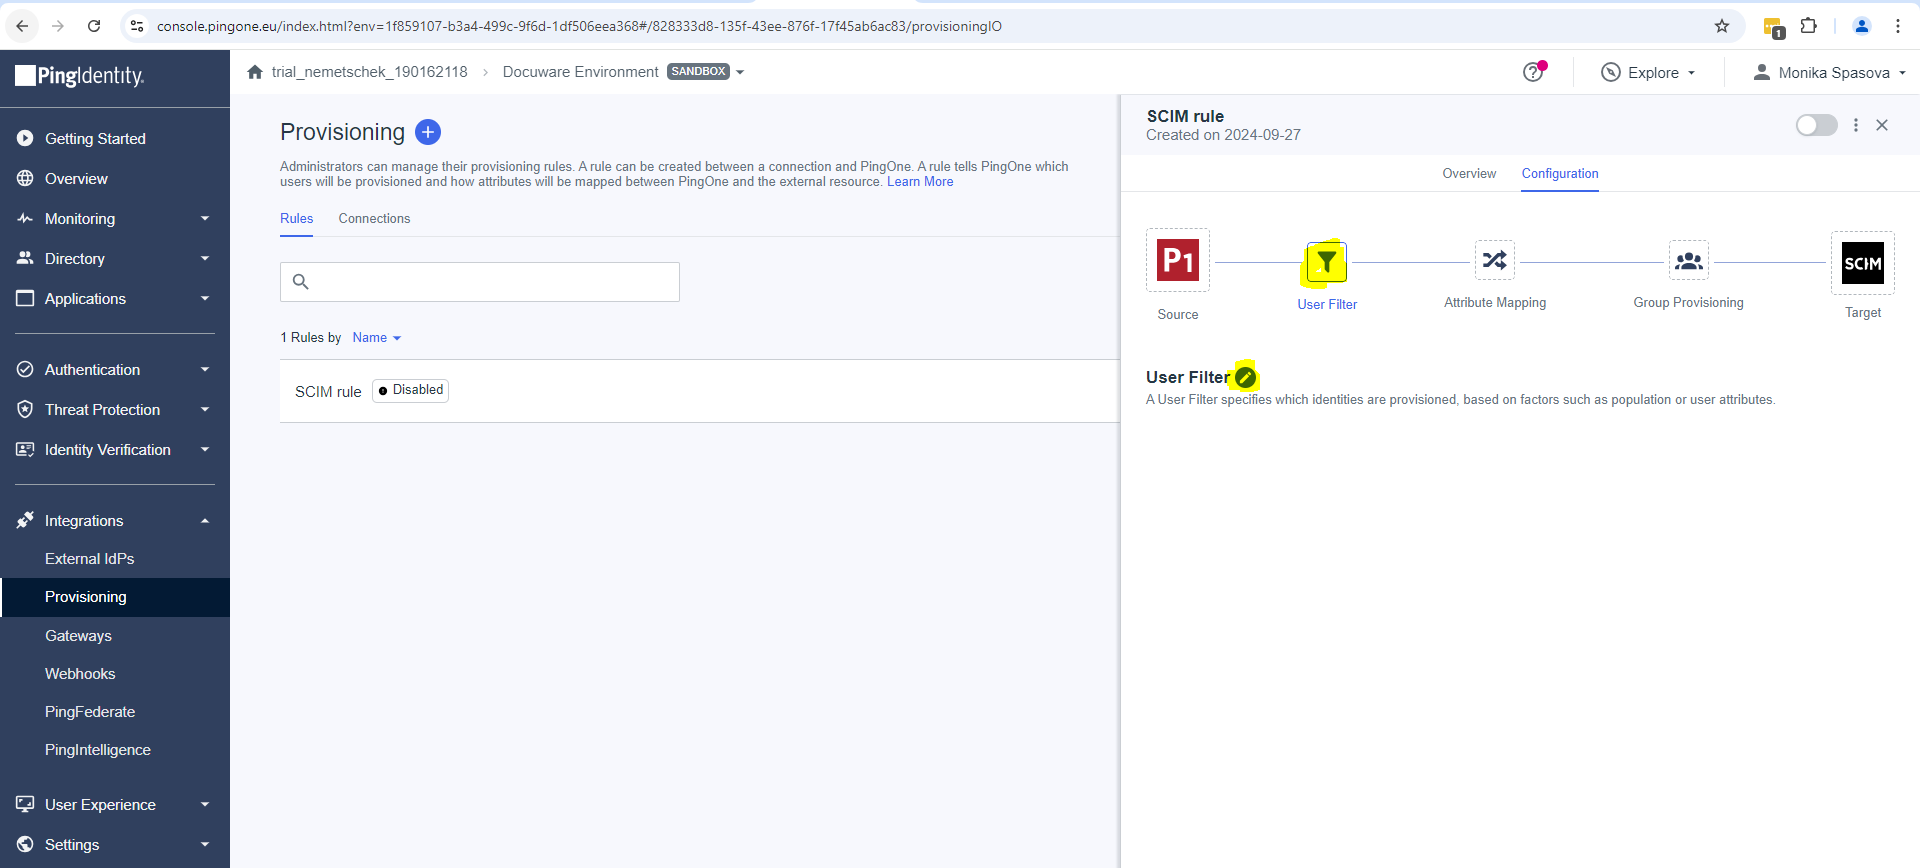
Select User Filter and select the edit button. Configure the filter as follows:
Attribute: Population Name
Operator: Equals
Value: Default
Select Save.
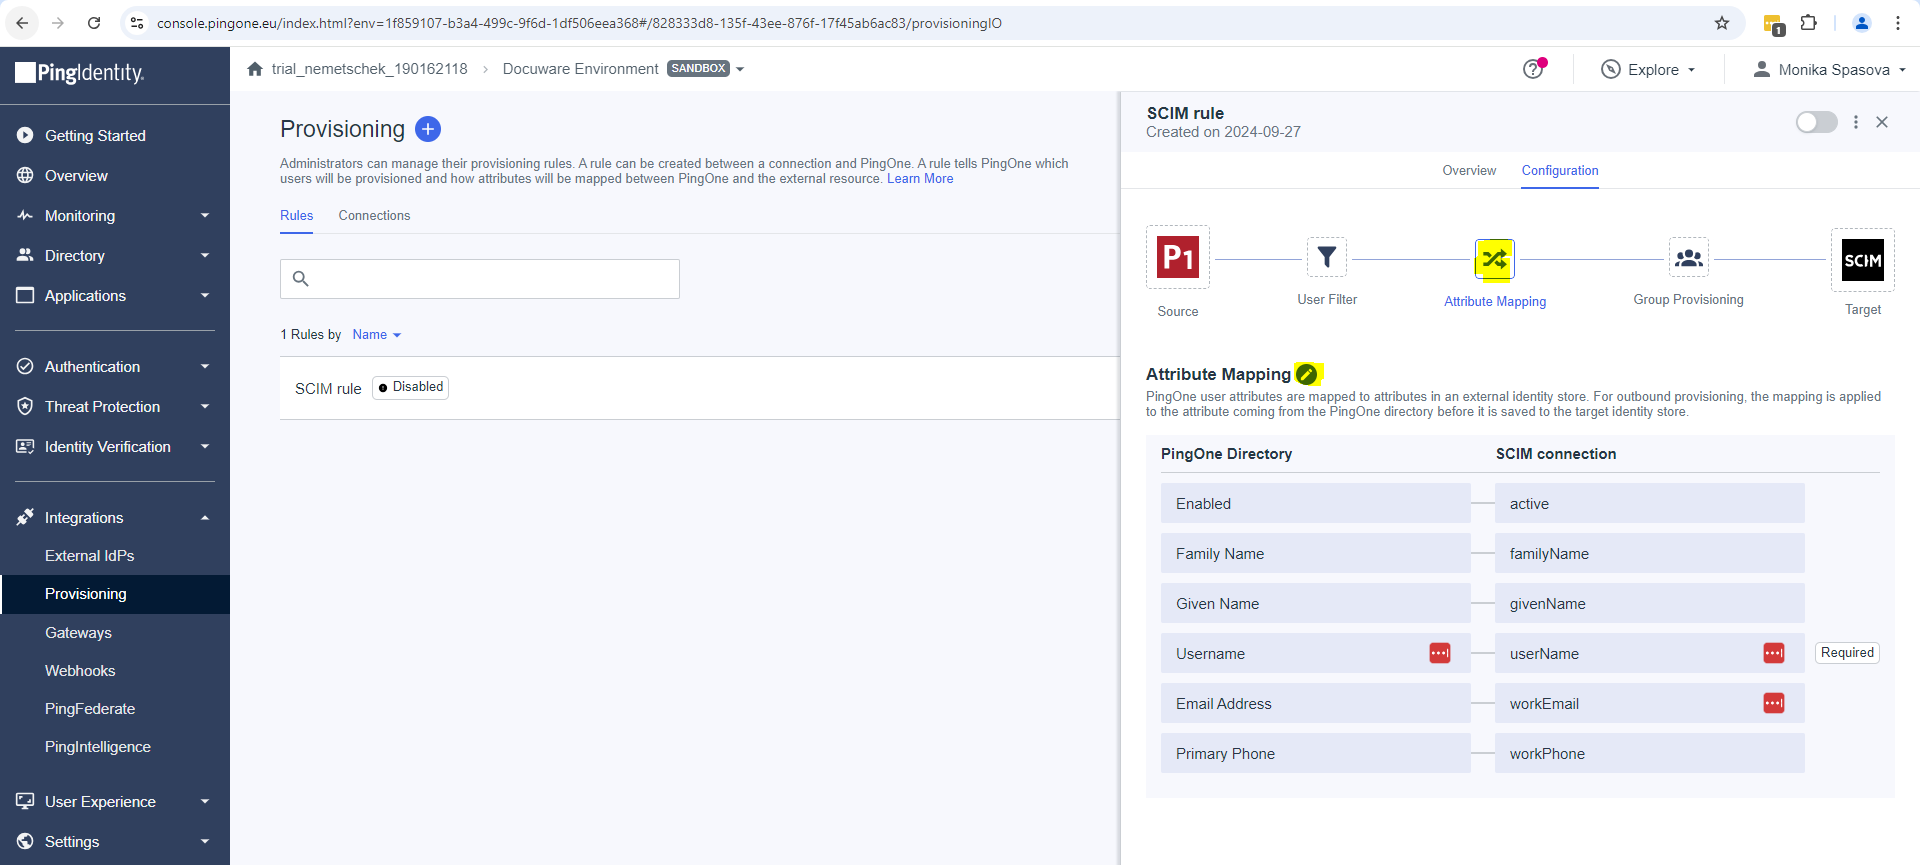
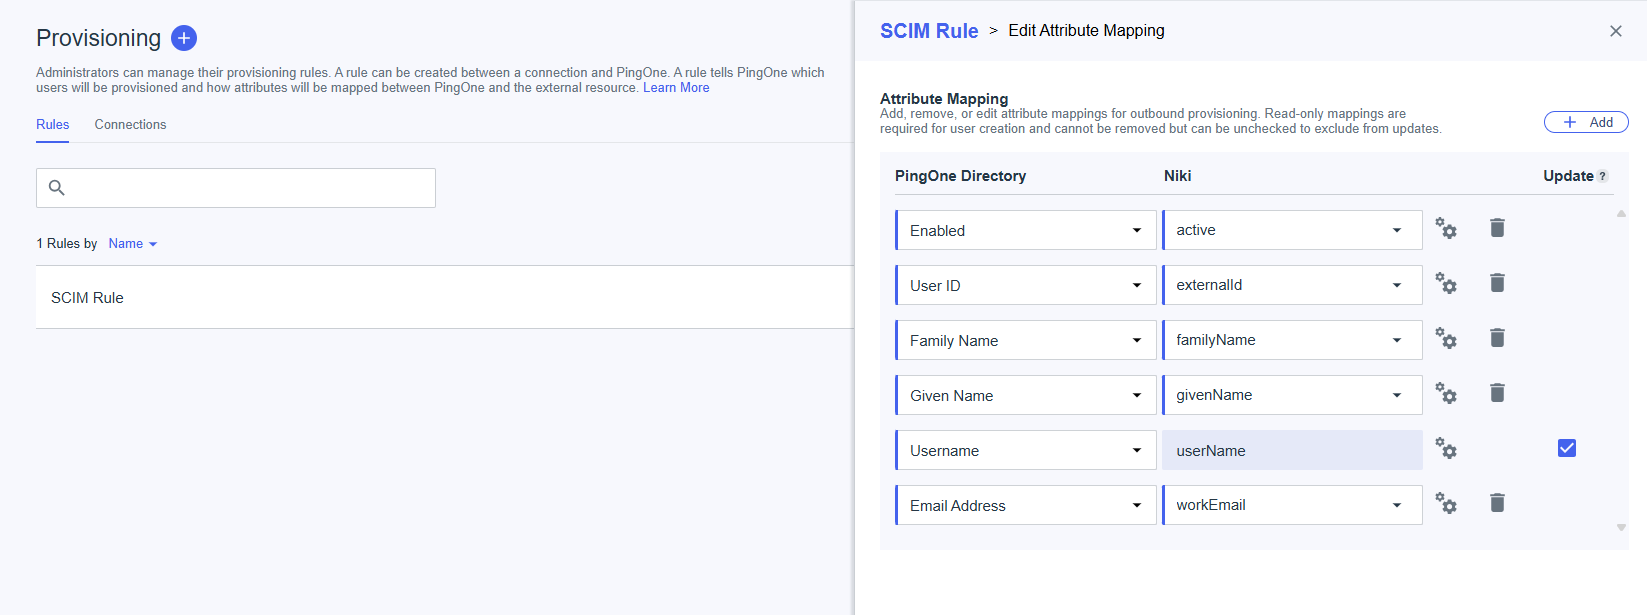
Select Attribute Mapping and select the edit button. Configure the following mappings:
Required mappings:
Username → userName
Email Address → workEmail
User ID → externalId
Enabled → active
Optional mappings:
Family Name → familyName
Given Name → givenName
Select Save.
Enable the rule using the toggle.
The provisioning configuration is now complete.
Provision users
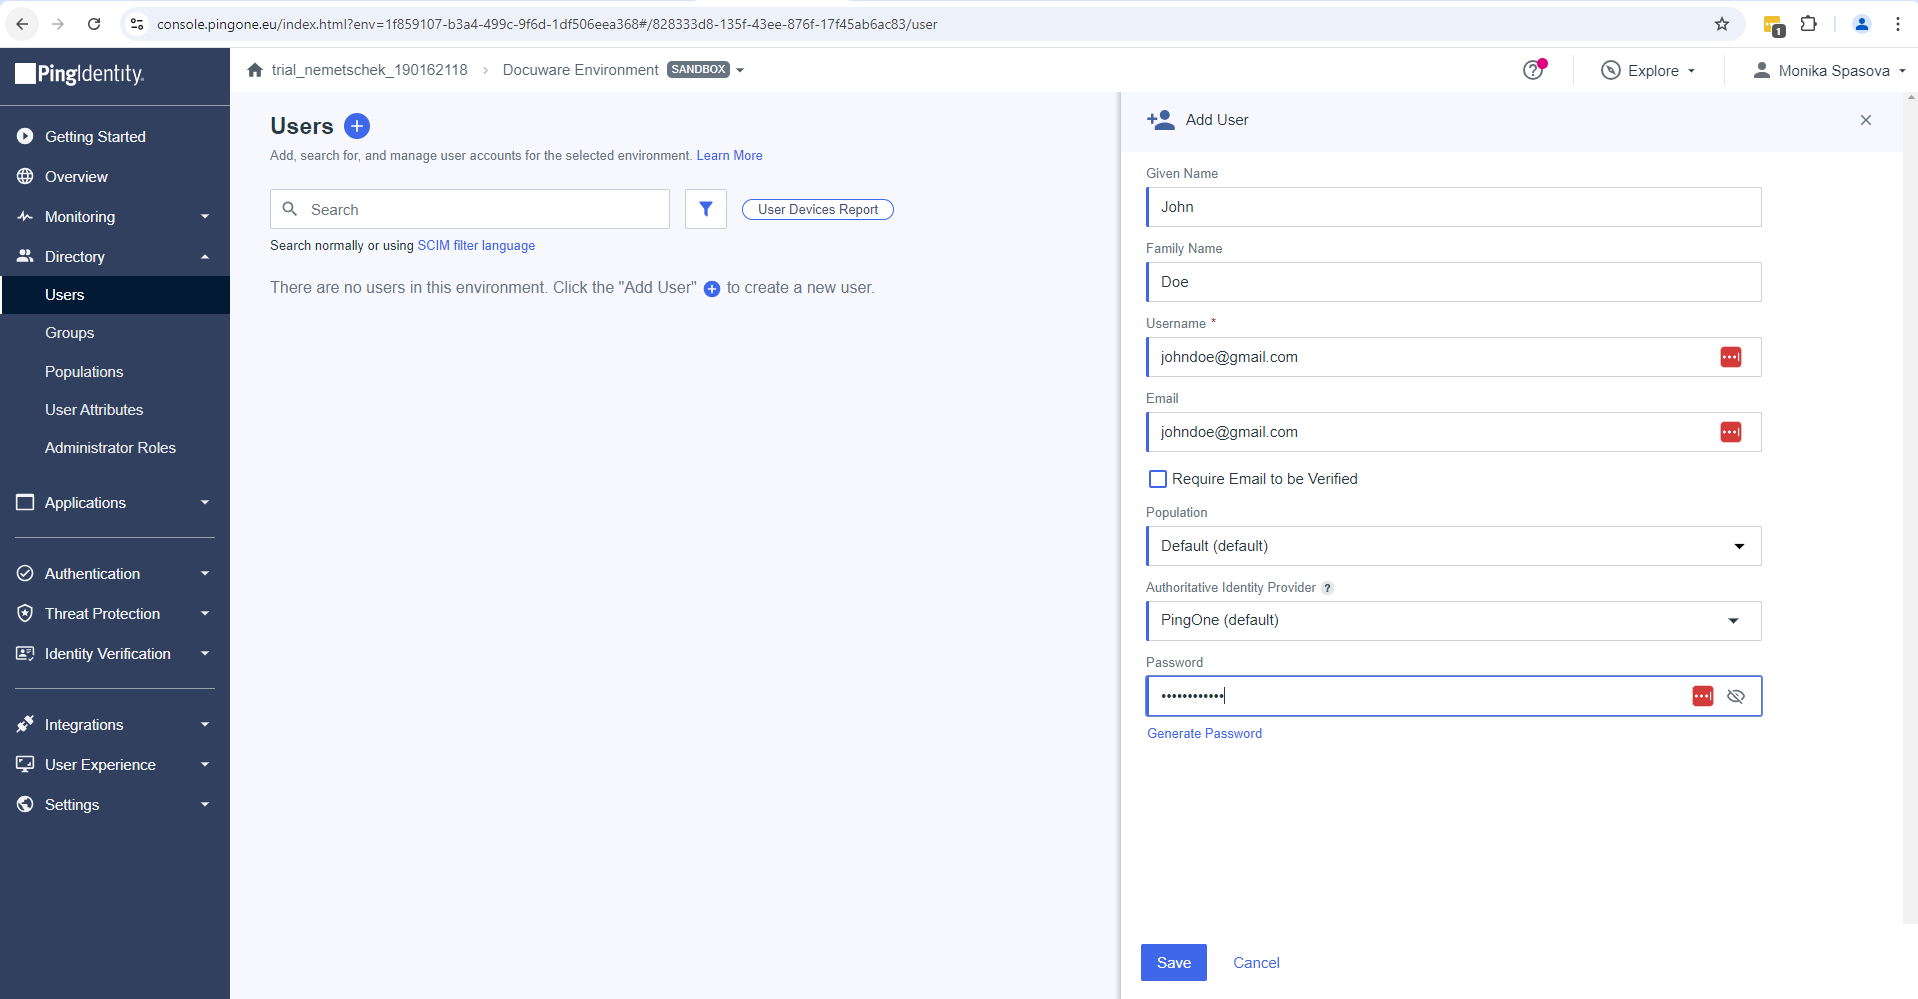
In PingOne, go to Directory > Users and select the + button to add a new user.
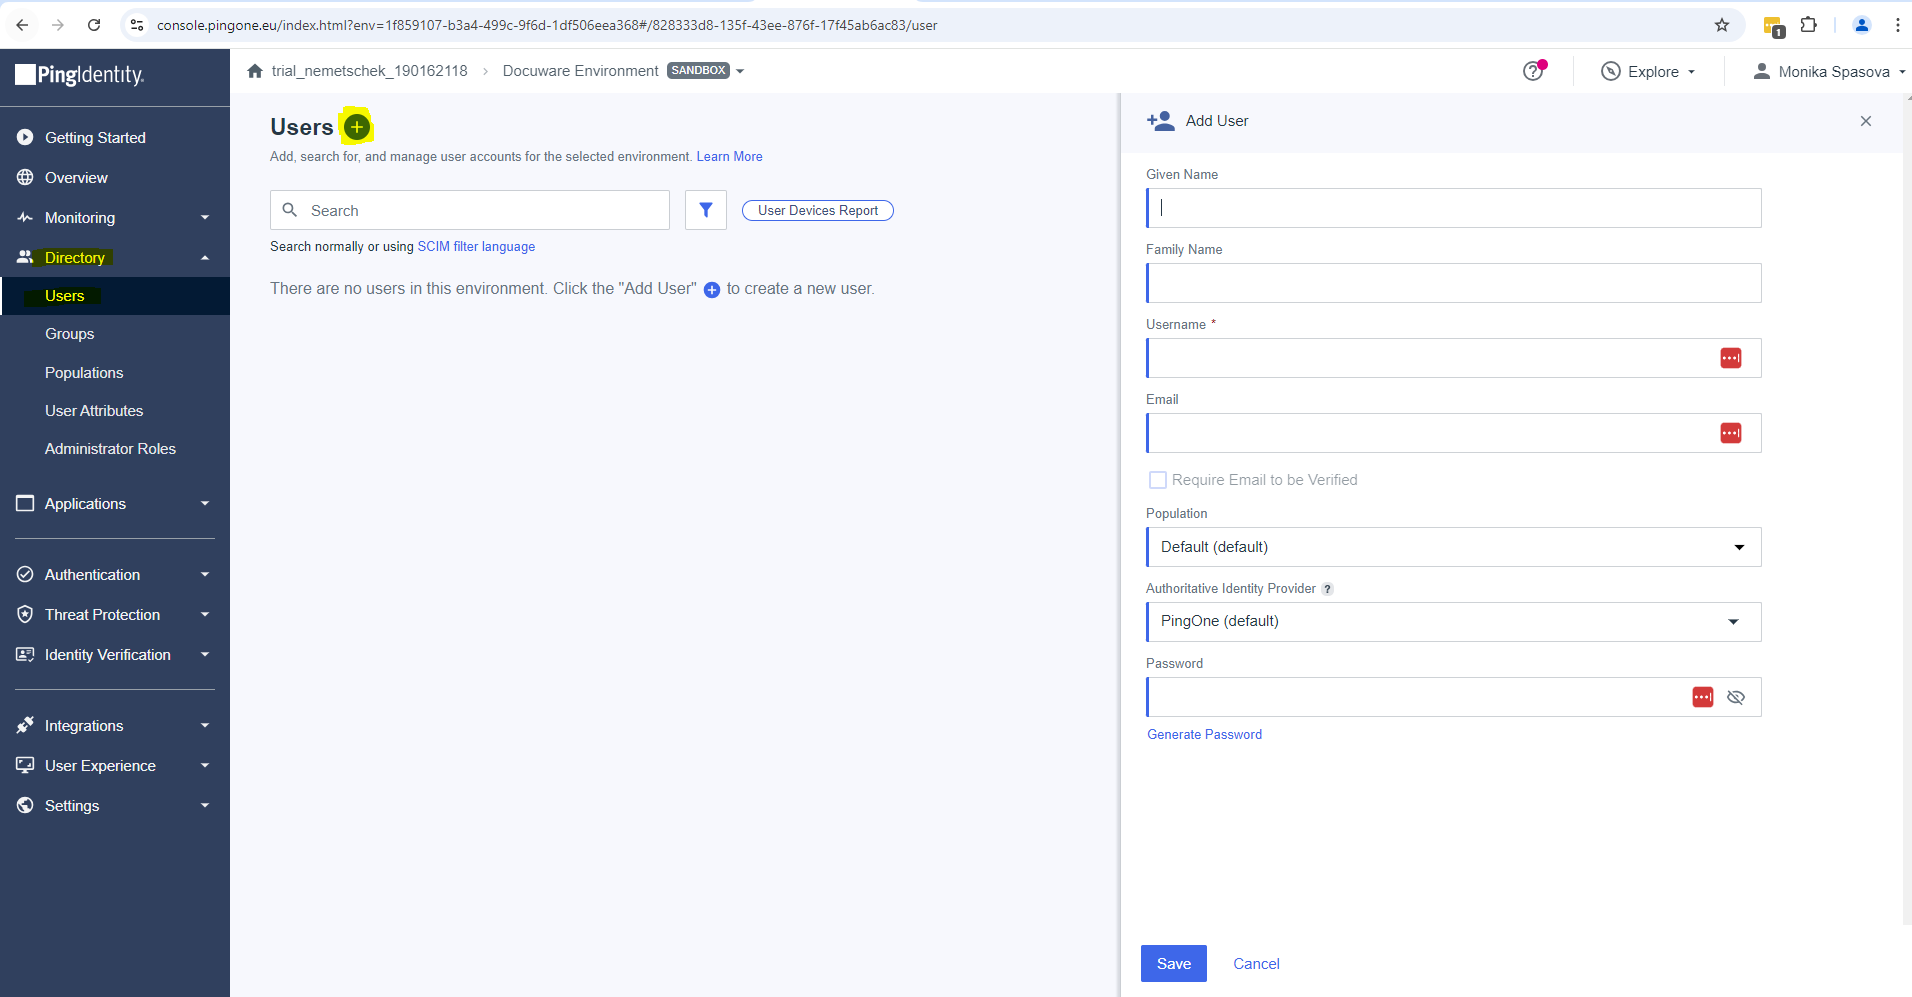
Enter the user data. In the Population field, select Default and select Save. The user is provisioned in DocuWare automatically.
To provision existing PingOne users, move them to the Default population.