DocuWare supports Microsoft Active Directory Federation Services as an Identity Provider for single sign-on. Here's how to connect DocuWare to Active Directory Federation Services.
Go to DocuWare Configurations > General > Security > Single sign-on.
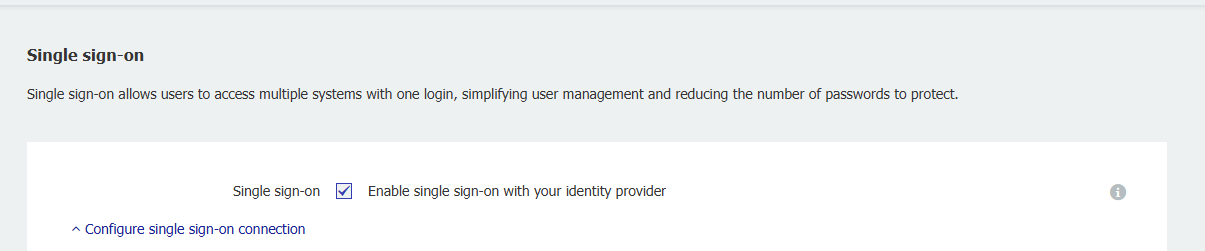
Activate the Single sign-on option.
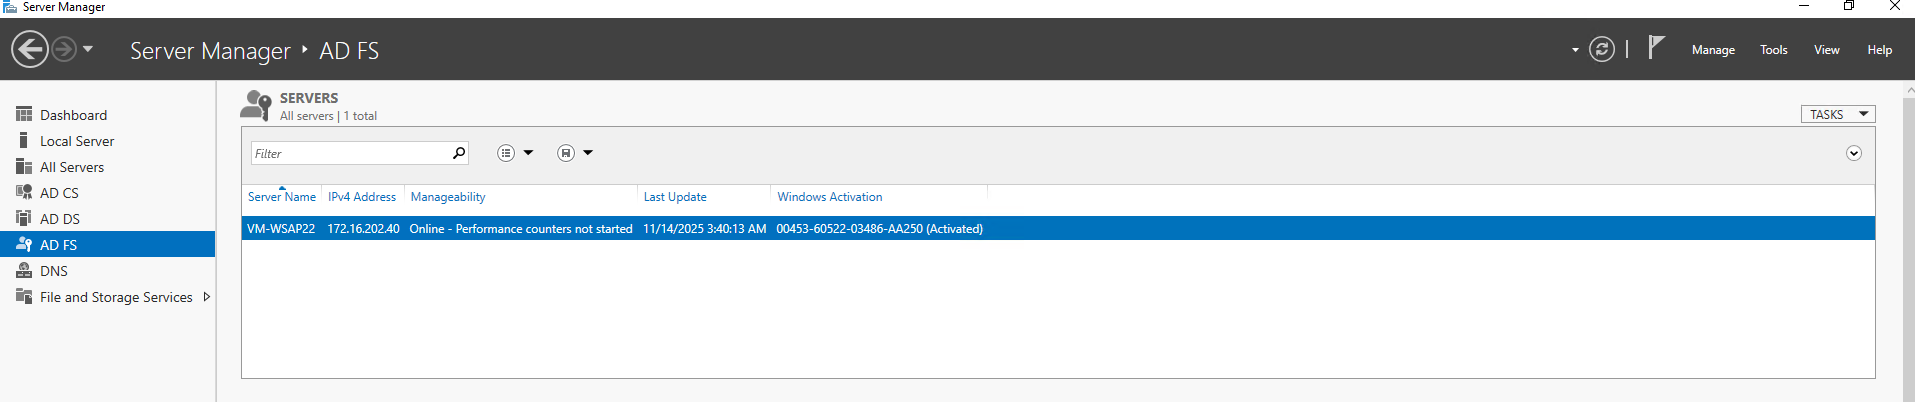
Go to your AD FS Server Manager.
Click on Tools and AD FS Managements.
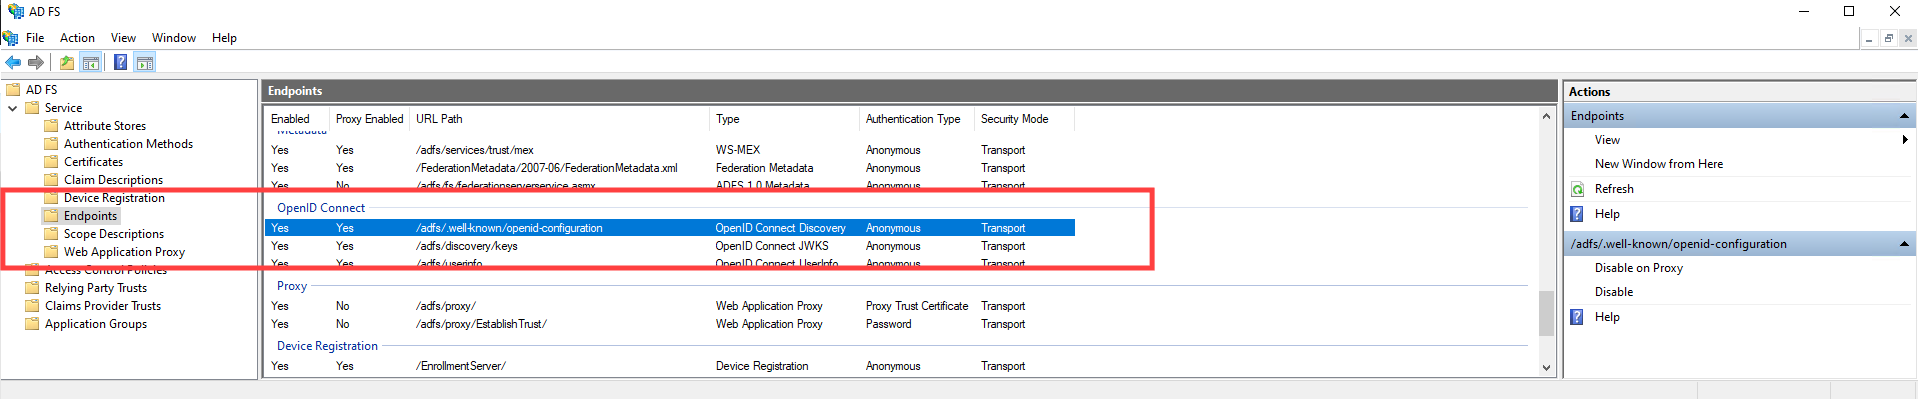
Go to Service > Endpoints and find the OpenId Connect Discovery endpoint.
Switch to DocuWare Configurations > General > Security > Enable single sign-on > Configure single sign-on connection.
Choose Microsoft Active Directory Federation Services as Identity provider.
In the Issuer URL input field insert the OpenId Connect discovery endpoint url. As an example: If your ADFS host is at “https://myadfs.net” and your discovery endpoint is “/adfs/.well-known/openid-configuration” then you would need to insert: https://myadfs.net/adfs/.well-known/openid-configuration.

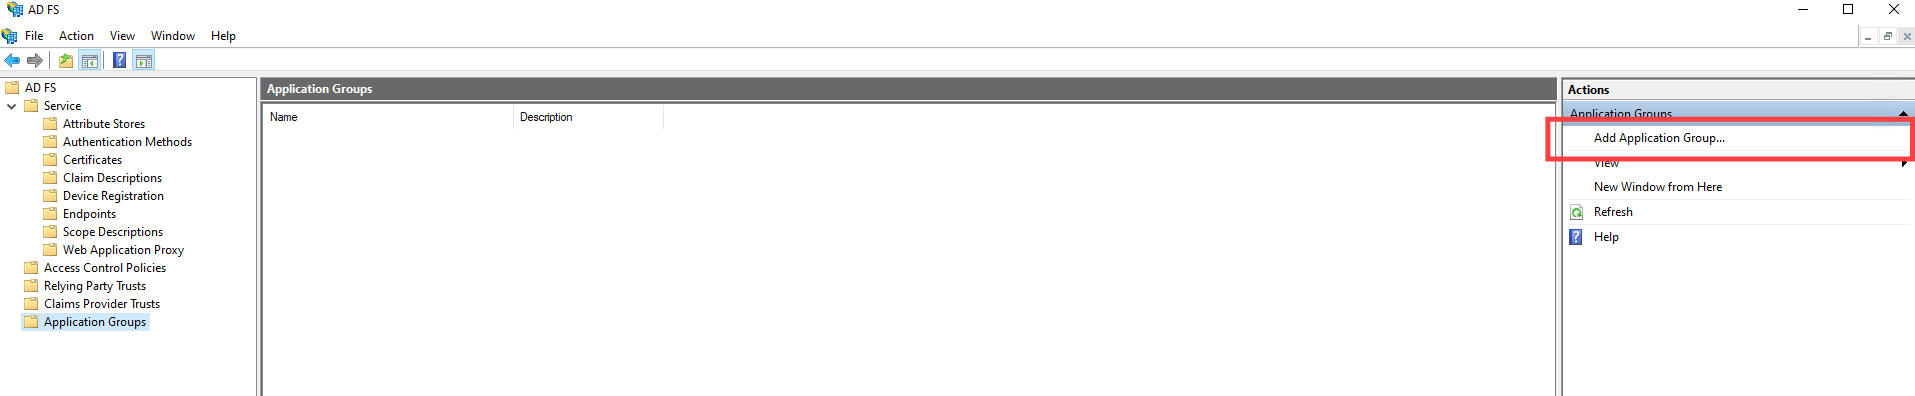
Go back to your AD FS settings and choose Application Groups.
In the right sidebar, click Add Application Group.
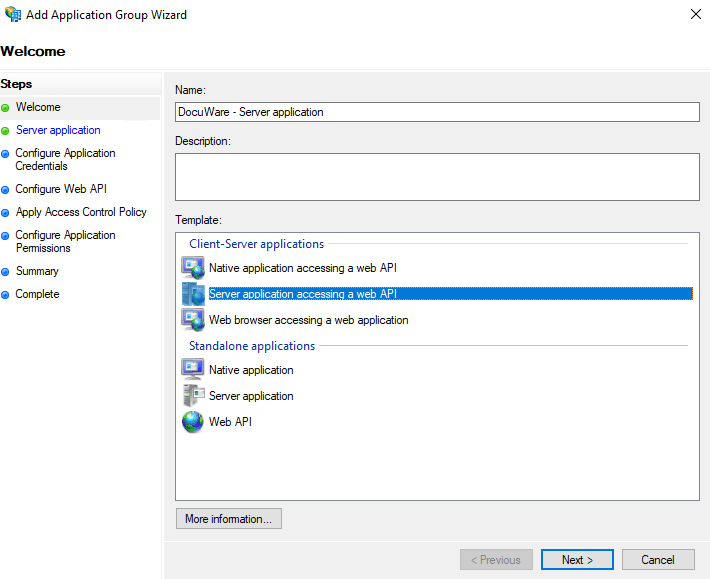
Choose a name and description for the application group, e.g.“DocuWare,” choose the option for Server Application accessing a Web API and click Next.
12. A Client Identifier is generated. Copy it and go to DocuWare.
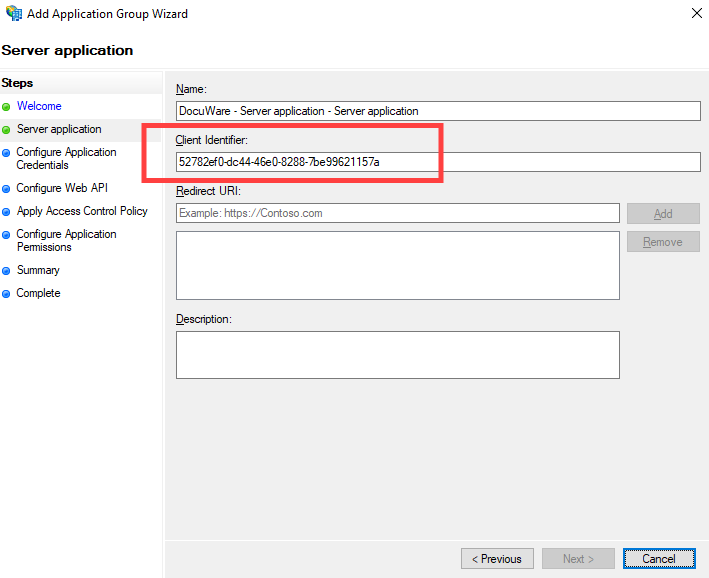
13. Paste the client identifier in the “Client ID” field, copy the Callback URL provided and save your settings and switch to AD FS.

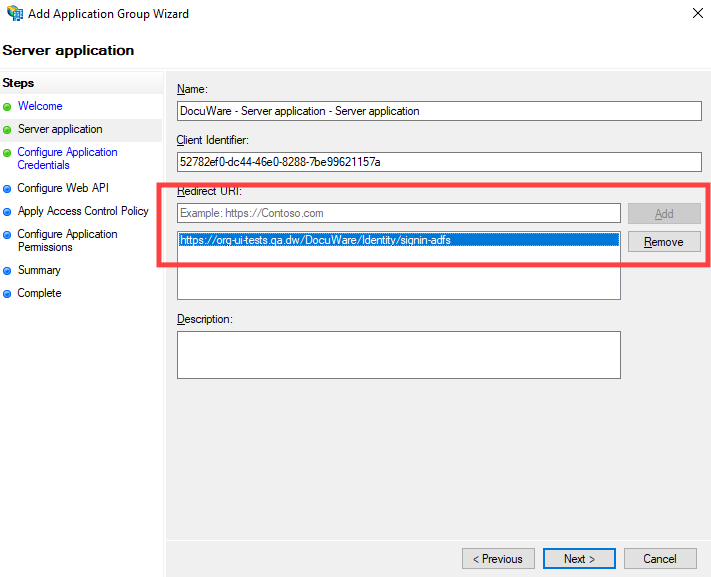
14. Go to AD FS configuration and paste the Callback URL in the Redirect URI and click the Add button. Then click Next.
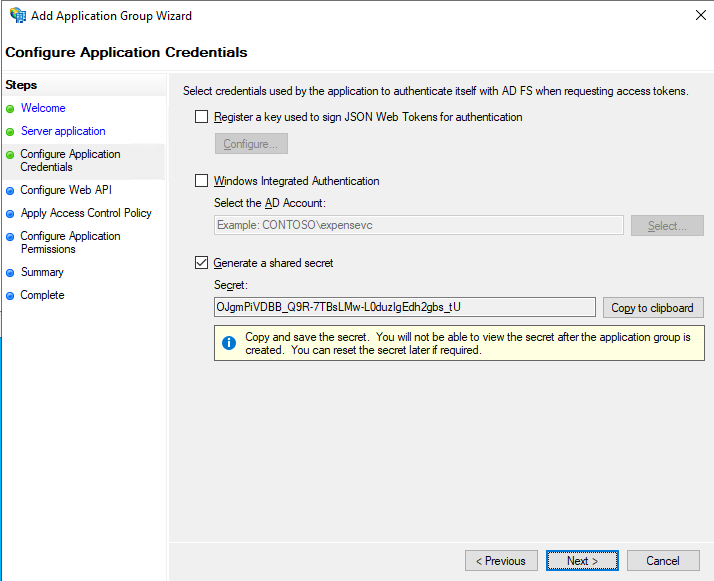
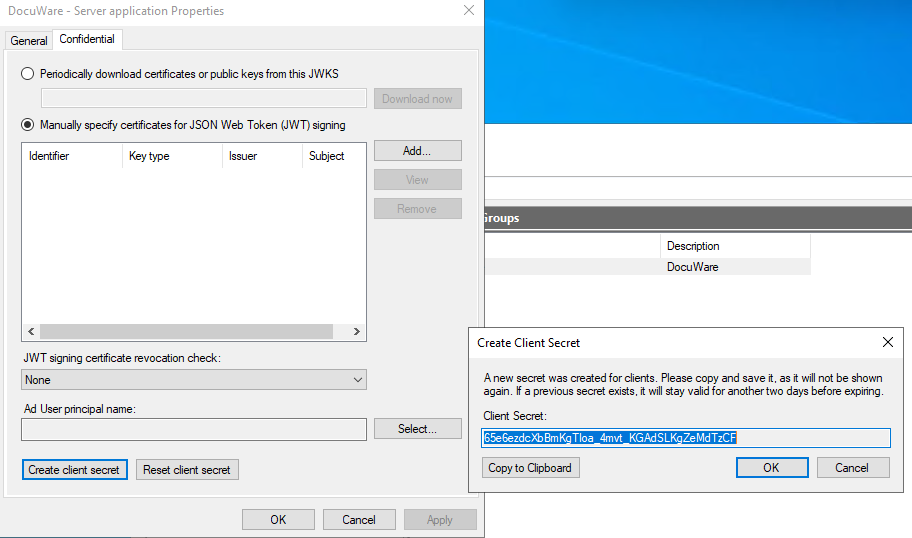
15. The next window will prompt you to select application credentials which you don’t need, if you are using Standard security level. When using High security level the secret should be generated and saved for use later.
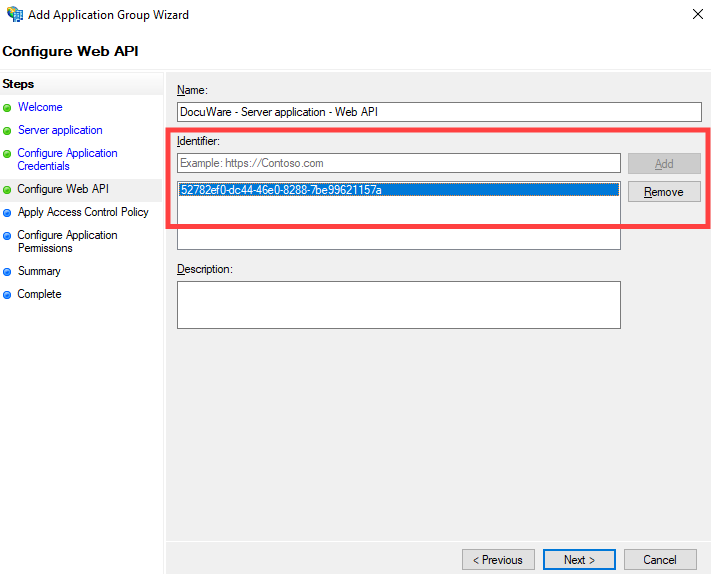
16. On the next screen you’ll see the Identifier box. Copy the Client ID which was provided earlier and click the Add button. It’s important that it is exactly the same. Then, click Next.
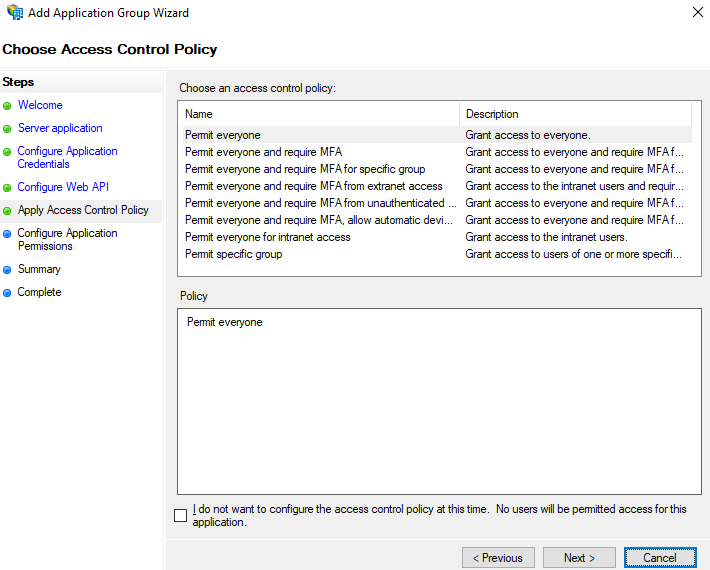
17. On the next screen you can leave the default settings and click Next
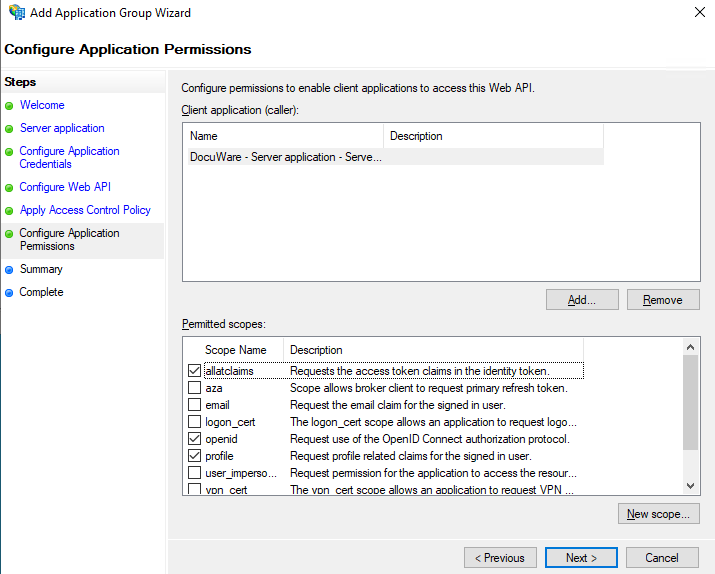
18. Select the application which you just created. From the Permitted scopes list at the bottom choose allatclaims, profile and openid. Then click Next.
19. Check that everything is set up correctly and finish your application creation
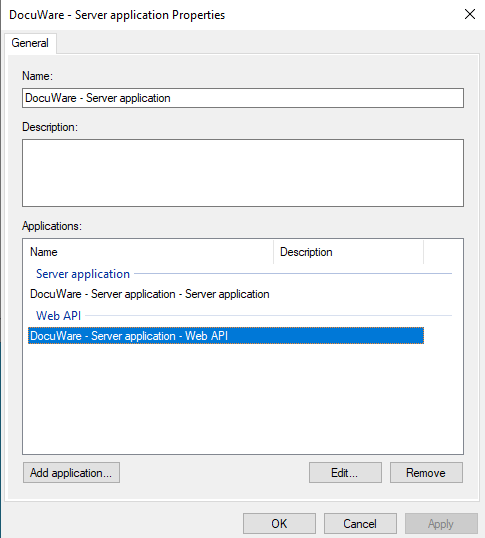
20. Double click on your newly created application group. A window will open. Double click the DocuWare Web API.
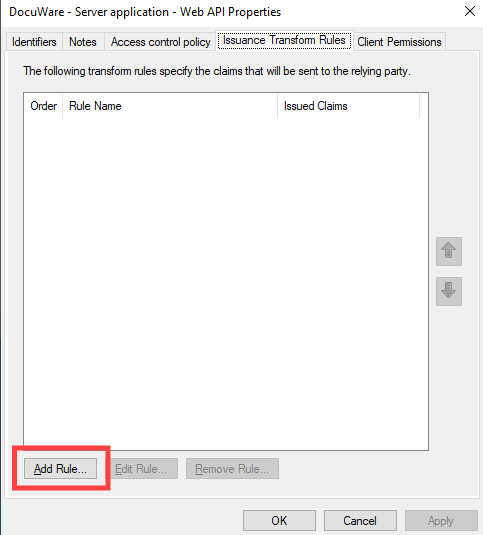
21. In the new window, choose the tab Issuance Transform Rules and add a rule.
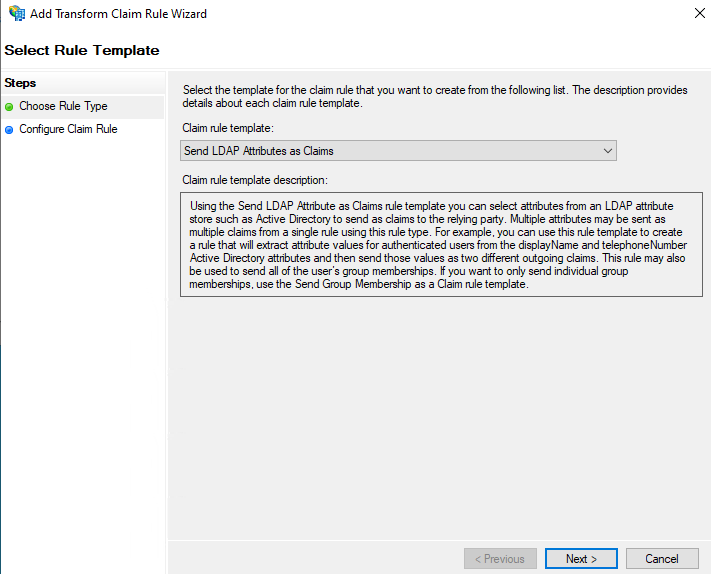
22. In the newly opened window, choose Send LDAP Attributes as Claims from the Claim rule template dropdown. Then click Next.
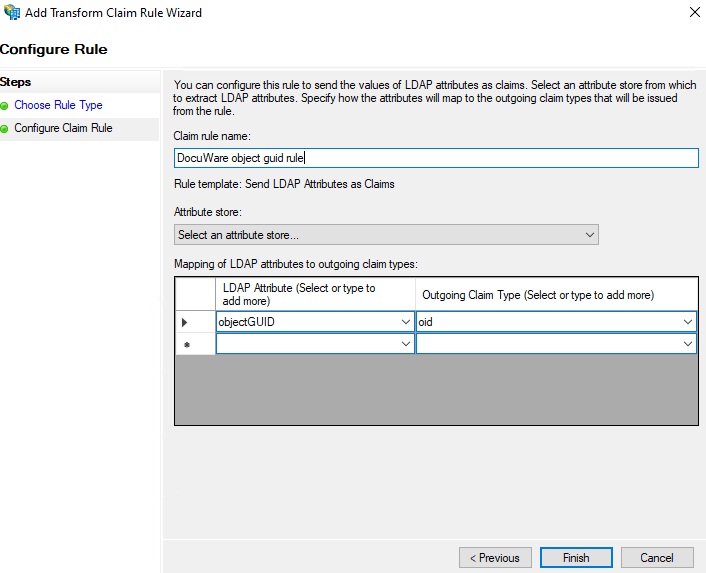
23. Now choose your claim rule name e.g. “DocuWare object Guid rule.”
24. Choose Active Directory from the Attribute store dropdown.
25. In the table below, type objectGUID for the field LDAP Attribute and oid for the Outgoing Claim Type field.
26. Click Finish and apply your changes.
27. Under the Callback URL there is a “Test“ button. This button will open a new parallel tab where you can enter valid Microsoft credentials to test, if the configuration is successfully setup.
 In case you try to save the settings, without testing them first, you will see a warning dialog that is intended to prevent accidental errors. You have to acknowledge the risks that you are taking by saving an Untested Configuration.
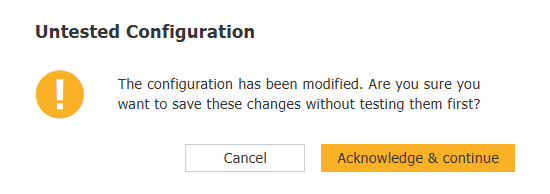
Notes
Option Security level: High
The default security level for new SSO configurations is set to Standard. The standard security level is sufficient for most use cases.
The high security level requires a client secret and is recommended. It can be changed by selecting the radio button located under the Client ID. If you select this option, a new text field will be displayed. The field content is protected from visual hacking.
You can use the previously saved secret key or generate a new one from the server application, under the Confidential tab.
Generating a new secret
If you generate a new secret the previous one will be active for 48 hours.
Option Automatically link existing users at login
If this option is enabled, DocuWare searches for a matching existing DocuWare user with the corresponding username and email address the first time a user logs on with single sign-on. The DocuWare username must match the local part (first part before @) and the DocuWare email address must match the complete username in Active Directory.
Only when the username AND email address match, can the Active Directory user account and DocuWare user account be connected.
Example:
Username: peggy.jenkins@peters-engineering.net
DocuWare username: peggy.jenkins
DocuWare Email address: peggy.jenkins@peters-engineering.net
It is not necessary to create DocuWare users via the User Synchronization app in order to use single sign-on. Even if you create new users manually or import them via an interface, the external user account and the DocuWare account are automatically synchronized.
Once a user has been assigned, the user is recognized from this point through an external object ID. This means that even if the email address and/or username no longer match, the user will still be recognized.
Security settings for logout with single sign-on
In Azure Active Directory there are some default settings that DocuWare customers or their administrators may not be aware of.
Default setting for persistence of browser sessions
When browser session persistence is enabled, users can choose on their personal devices whether to continue the session after successful authentication with a Stay signed in? prompt. When users confirm the option, it is no longer possible to simply log out of an application. The single sign-on token is not invalidated or deleted and remains valid for other applications.
This is a security risk. For example, if you log on and off from an Internet cafe using Single Sign-on in DocuWare Cloud, you will still be logged on to Microsoft. The next user on the computer could access all connected systems.
Default setting for the validity period of tokens
The risk is aggravated by the fact that the tokens for the Stay signed in option are valid for 90 days by default for devices (with unchanged default setting). For applications even up to 180 days (depending on the configuration settings).
DocuWare therefore recommends the following measures:
Follow the Azure Active Directory guidelines for conditional access to control the lifetime of session tokens.
In Azure Active Directory, define the sign-in frequency option for DocuWare.
Disable the option for persistent browser sessions.
Remove the Stay logged in option from the Microsoft Logon dialog
Information on these measures can be found in the next section.
Notes on configuring logout security settings
The persistence of browser sessions is extensively documented by Microsoft.
Summary
"Conditional Access" describes the concept of login policies in Azure Active Directory. The policies can be used to configure the validity of a token.
For example, a token consists of an account, a client (device) and a resource. Instead of configuring the validity period of the token, you use policies to define the frequency of login, that is, the intervals at which users must re-authenticate when using a particular resource. For critical applications, users often need to re-logon, while tokens for less critical resources are valid for longer.
This feature can be integrated into applications that implement the OAUTH2 or OIDC protocol.
Another important aspect of this security concept is the management of "stay-signed-in" functionality. While extended session validity is useful for mobile or thick applications, it is not suitable for use cases where the client functionality is provided by a Web application.
To prevent the access control policies described above from being overridden by the stay-signed-in settings, it is advisable to disable this functionality by setting the persistent browser session configuration to Never persistent.
Additionally, the option to select stay-signed-in can be removed from the Login with Microsoft dialog box in the Add branding to your organization's sign in page settings.